Information Gathering

Information gathering is to collect as much information about our target, such as Domain Name Server (DNS) hostnames, IP address, and etc.

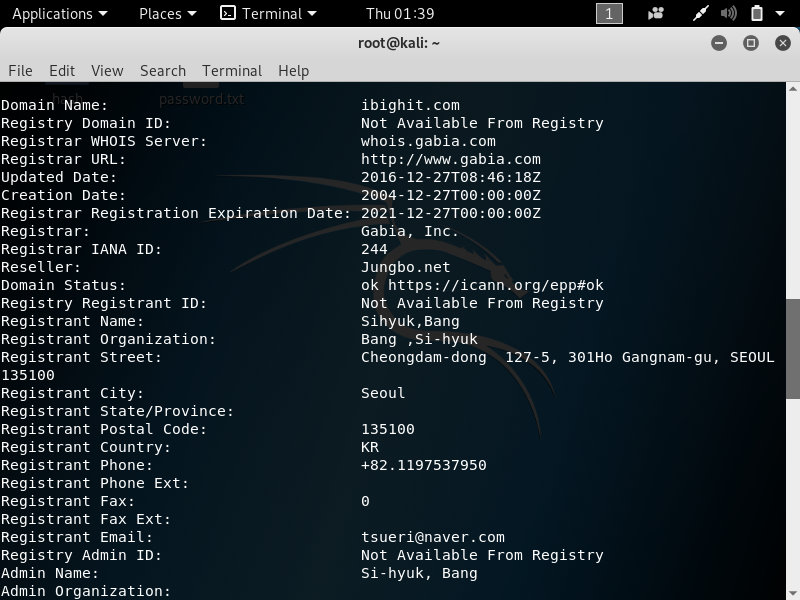
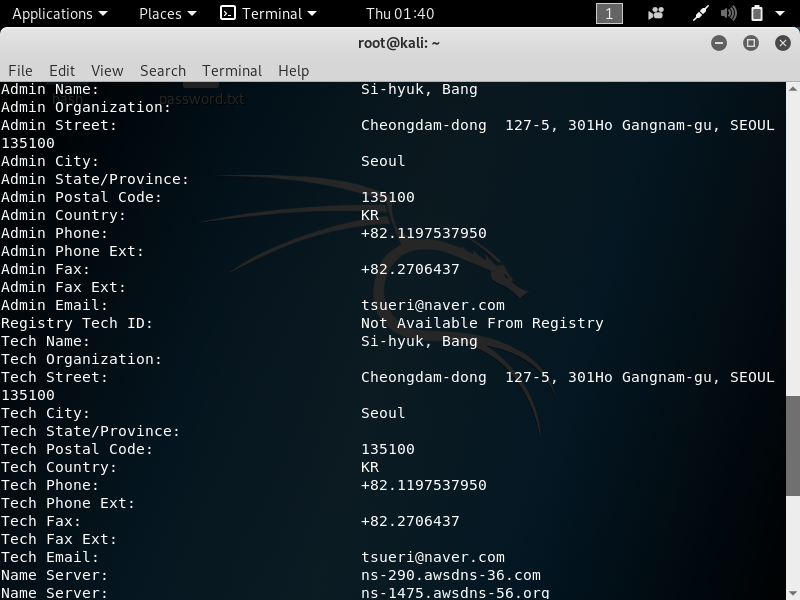
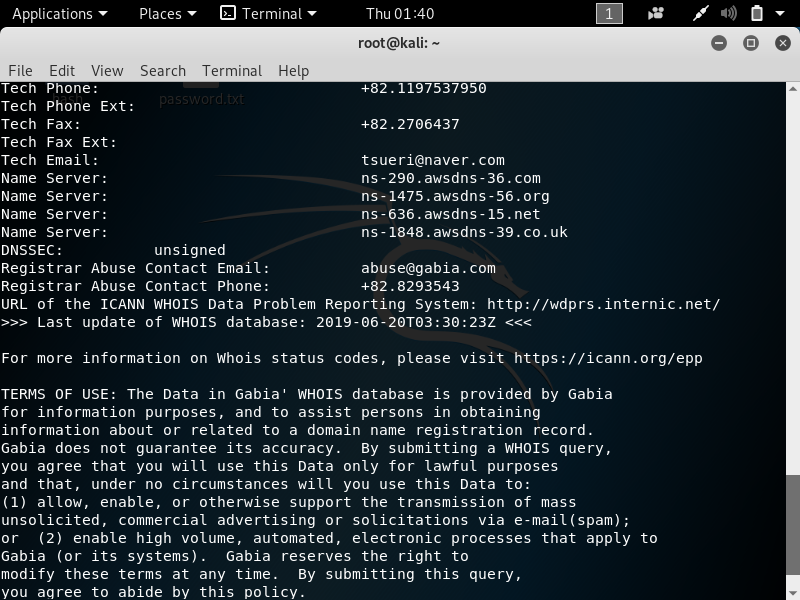
1. whois –> To gather information about the domain and the registrant. 

The command is very simple –> whois *website*


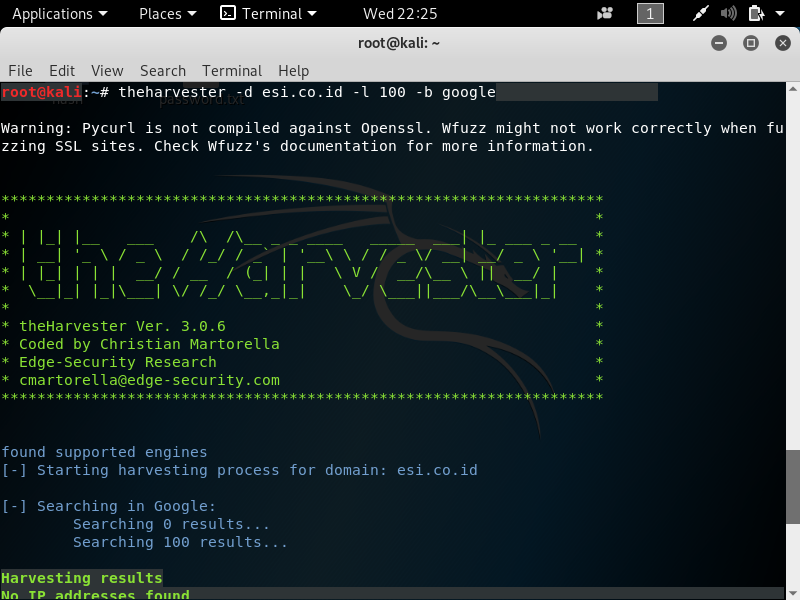
2. theHarvester –> To gather email account, username, and hostname.
If we want gather information using theHarvester, with maximum 100 results and using google the command is theharvester -d domain.com -l 100 -b google

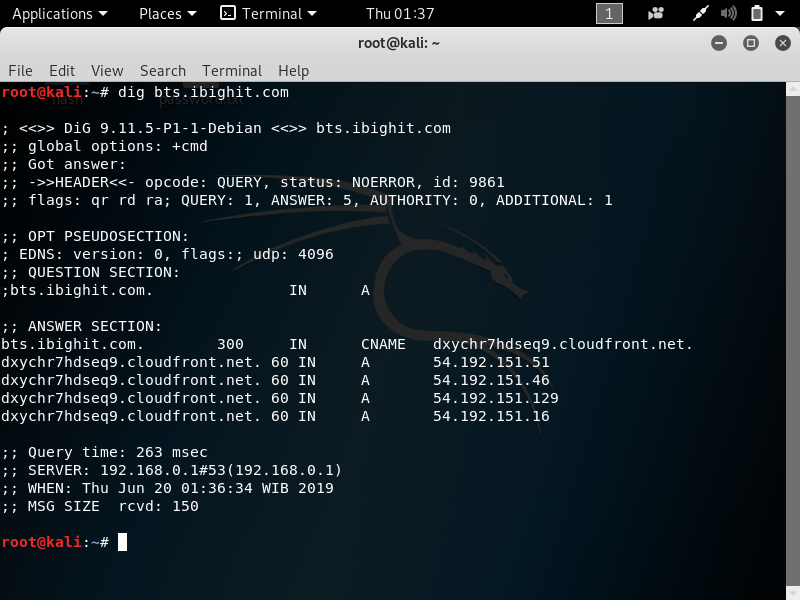
3. dig -> Dig (Domain Information Groper) is a network administration command-line tool for querying DNS name servers. It is useful for verifying and troubleshooting DNS problems and also to perform DNS lookups and displays the answers that are returned from the name server that was queried. The command is dig *website*
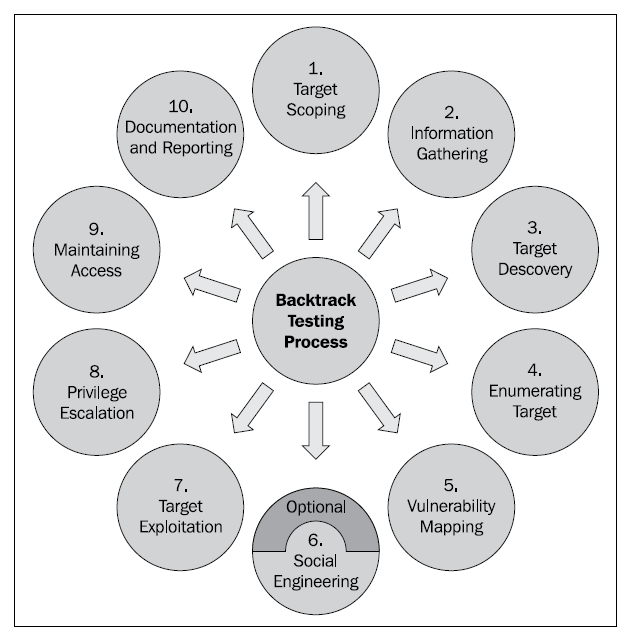


Kali Linux Penetration Testing Cycle

1 Target scoping

In this step, we observe the network condition and determine what to do. What objectives we need to achieve, how long does the test going to take, etc.

2 Information Gathering

Gather and learn about the target from public sources, such as Google, Yahoo!, and many more. Information gathering can also be done with footprinting tools.

3 Target discovery

in this step, we mostly deal with identifying the target’s network status, OS, and network architecture.

4 Enumerating target

Find open ports of the target. Once the open ports have been identified, they can be enumerated
for the running services.

5 Vulnerability mapping

Identify the weakness of the target based on the disclosed ports and services.

6 Social Engineering

Manipulate target into executing malicious code that gives access to the auditor. This step is optional.

7 Target exploitation

In this step, we really penetrate into the system. This step focused on the target acquisition process that has three core area, includes pre-exploitation, exploitation, and post-exploitation activities.

8 Privilege Escalation

The goal of this step is gaining the highest level access of the target.

9 Maintaining Access

Keeping control of the target for a specified amount of time. Provides a  clear view of how an attacker maintains access without noisy behavior.

10 Documentation and Reporting

Documenting, reporting, and presenting the vulnerabilities found.


Google Dorks

A Google Dork query, sometimes just referred to as a dork, is a search string that uses advanced search operators to find information that is not readily available on a website. In other words, we can use Google Dorks to find vulnerabilities, hidden information and access pages on certain websites.

Google Dorks can uncover some incredible information such as email addresses and lists, login credentials, sensitive files, website vulnerabilities, and even financial information (e.g. payment card data).


Some of the popular operators used for Google Hacking:

  • inurl: ” ” Used to find a specified term in the url.
    • Example: Using inurl: “google dorks”, Google will only show the term “google dorks” on their results page.

  • allinurl: ” ”  –> Similar to inurl, but show the results for the URL that meet all the keyword.
  • intitle: ” ”  –>Using this operator, Google will only show the results that have the specified term in their website title.
    • Example: When using intitle: “login page”, Google will only show the sites that have the word “login page” in the website’s title text.
  • allintitle: ” ”  –> Similar to intitle, but using this operator, Google will show all the specified keywords in the title.
  • site: www.web.com –>To limit the result to only a specific site only
  • Related: www.web.com –> To find similar sites to the term of the domain
  • filetype: –> To find a specific file type (Ex: .pdf, .mp4, .php)
  • ext: –> Similar to filetype, but only shows the results that is based on the searched file extension.


Google Dorks Formula

The basic formula of using Google Dorks:

“inurl:.”domain”/”dorks” “

  • “inurl”: The input URL to find a specified term
  • “.domain” : The domain you want to find. Example: .org ; .co.id
  • “dorks” : Your choice dork

Other than “inurl”, you can use other terms that don’t require you to only find URL, such as:

  • “intitle”
  • “intext”
  • “define”
  • “site”
  • “info”
  • “link”
  • “book”


Kali Linux Installation

Kali Linux Installation Using Oracle Virtual Box Tutorial

Creating the VM

Open the Oracle Virtual Box and click the start button


Name the virtual machine and give path for the files. Pick Linux as the type and Debian(32-bit) or Debian(64-bit) as the version.


Select the file location and size. Change the size to 20.00 GB. 


After that, the VM is made.


The next step is to choose a disk for the VM. Go to the storage tab

Click the CD-shaped button to add a disk.

Select the Kali Linux iso file that has been downloaded,


Go to the network tab and choose Bridged Adaptor in the Attached to option

Kali Linux Installation


Select the preferred language


Select location


Configure locales


Configure keyboard


Enter hostname


Enter domain name (optional)


Select clock


Select partitioning method


Select disk to partition


Select partitioning scheme


Finish partitioning or undo changes to partitions


Write the changes to disk


If using a network mirror, whenever there is a new software update, it will tell the user.


Enter HTTP proxy (optional)


Insatall GRUB


Kali Linux installation is finished and the VM is ready to be used.


Graphical install: To make the display easier to manage (not command line)


Choosing language


Choose the country