Vulnerability Mapping

In computer security, a vulnerability is a weakness which can be exploited by an attacker, to perform unauthorized actions within a computer system. To exploit a vulnerability, an attacker must have at least one applicable tool or technique that can connect to a system weakness.

In pentesting, vulnerability mapping is a step that follows after the tester or hacker has adequately conducted information gathering and enumeration of the target network or host. The purpose is to identify security flaws which can result in the compromise of a system.

Types of vulnerabilities:

  • Design: Vulnerability found in a software
  • Implementation:  Vulnerability that appeared in a code
  • Operation: Vulnerability that happens because of improper configuration
  • Local: Attacker needs local access to trigger vulnerability in the target.
  • Remote: Attacker does not need local access to trigger and exploits the vulnerability in the target.

Tools for vulnerability mapping:

  • Nessus
  • OpenVAS
  • Fortify
  • Sqlmap
  • W3af
  • Metasploit

WPScan to find username

WPScan is a black box WordPress vulnerability scanner that can be used to scan remote WordPress installations to find security issues.

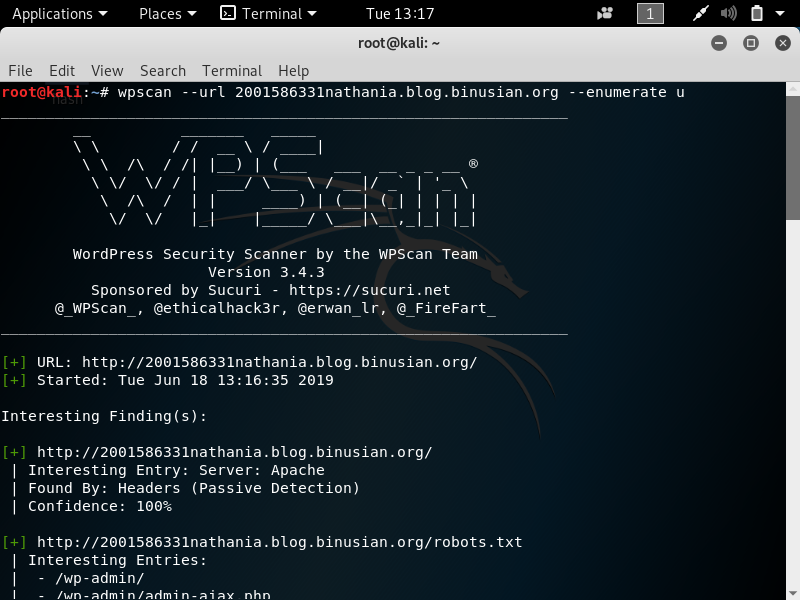
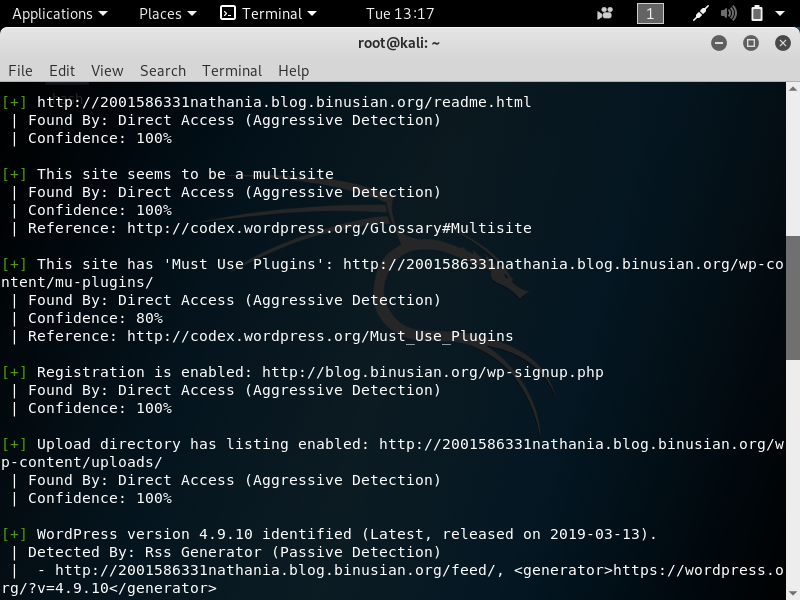
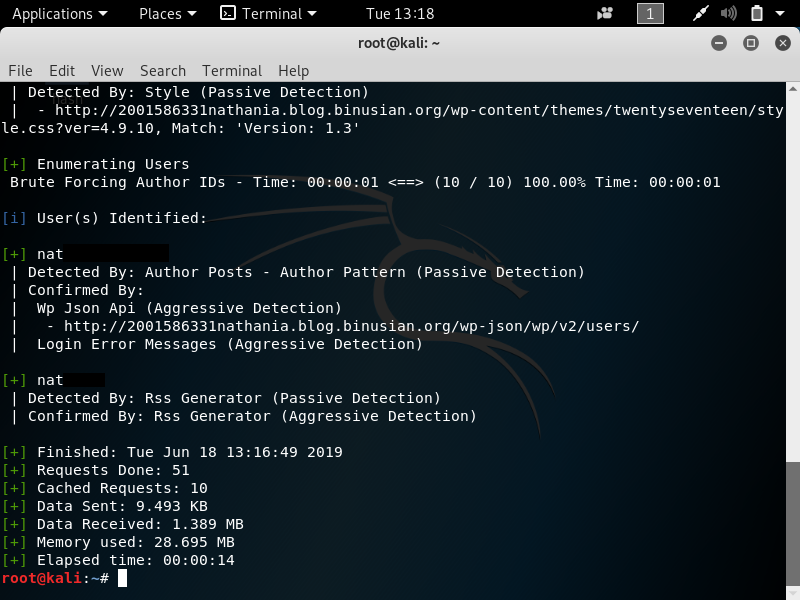
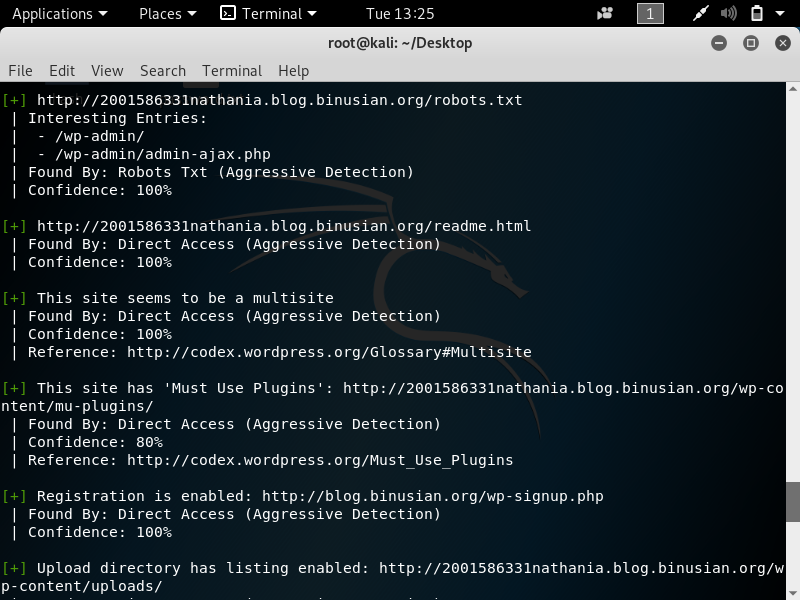
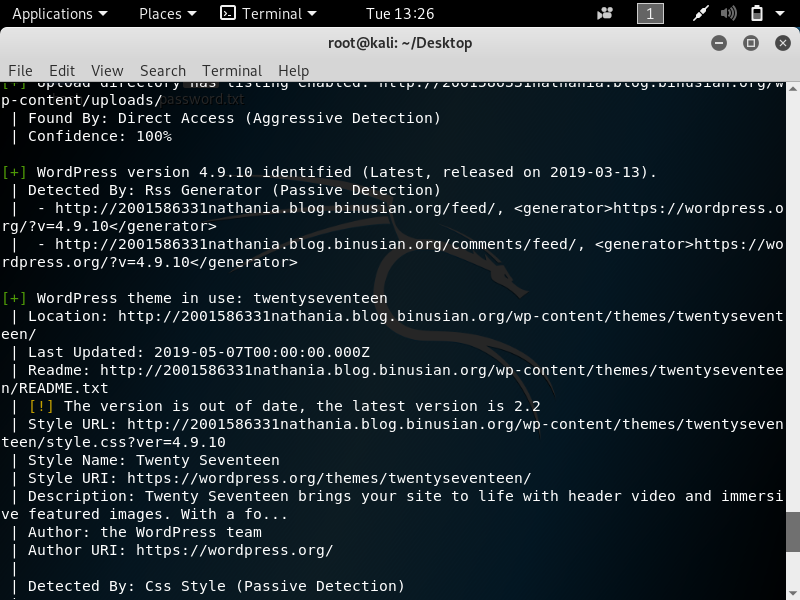
Using WPScan allow us to find the username of a wordpress blog with just a single command.  This is the command that is used –> wpscan –url website –enumerate u. This example is using my wordpress account to try WPScan.


From the image above, we can see that the username has been identified (The real username is hidden).

WPScan to bruteforce password

WPScan is a black box WordPress vulnerability scanner that can be used to scan remote WordPress installations to find security issues.

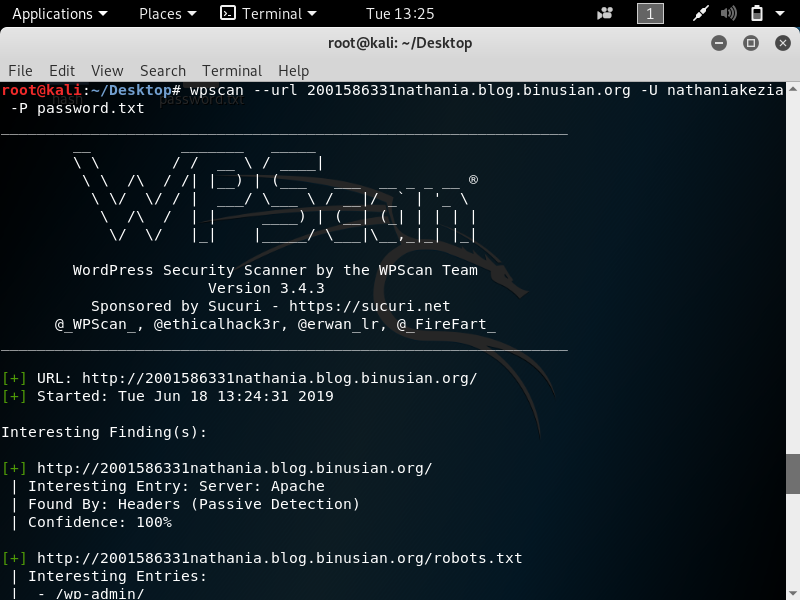
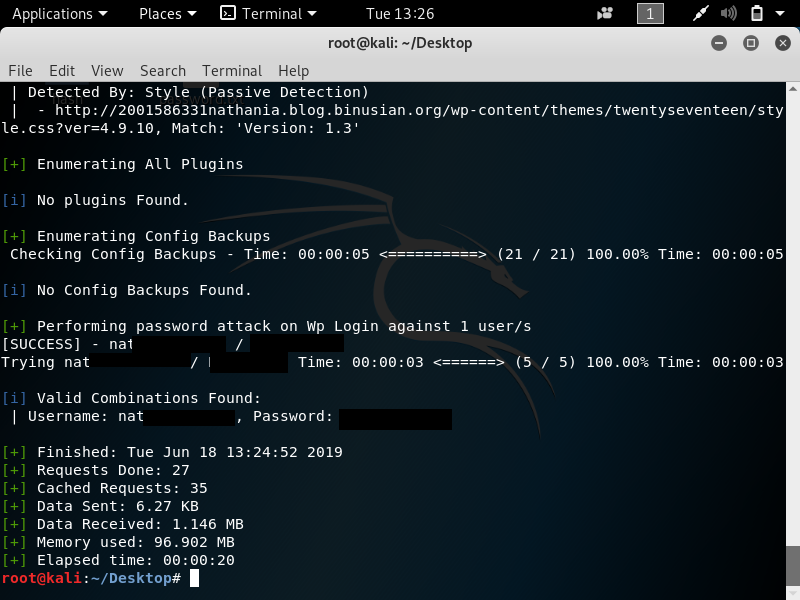
Aside from finding usernames, WPScan can also find the password of the wordpress account. The command we use is wpscan -url website -U ‘username’ -P ‘wordlist file’. The wordlist file consists of words that might be the real password.

For this example, I am using the wordpress of my blog to try WPScan.


The image above shows that the password is found (real password is hidden).


Final Project COMP6341 Report


Name: Nathania Kezia Barakati – 2001586331

Group Members: Nathania Kezia Barakati, Regita Isada

Course: COMP6341 – Multimedia and Human & Computer Interaction

Project Type: Final Project

Project Name: Match It!

Made Using: Construct 2


About

‘Match It’ is a game made for kindergarten children. The user has to match a card with another card. This game aimed to strengthen their memory and also learning about animals, fruits, and vegetables. ‘Match It’ consists of two categories, zoo and garden, and four levels (two levels each variation).


How to play

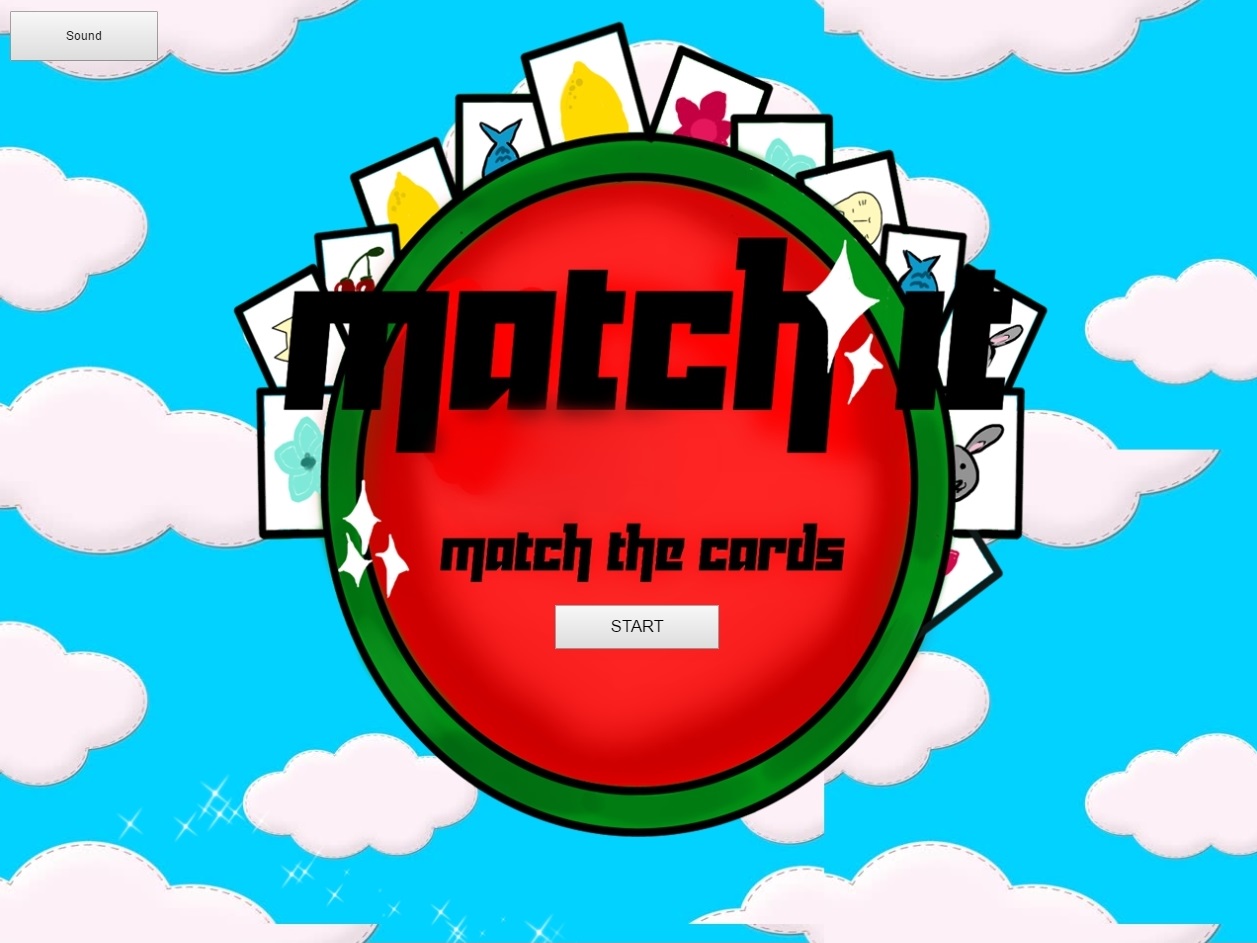
When the game is opened, the first layout will be the start page. The start page consists of the ‘Start’ button to play the game and also the ‘Sound’ button which is the button to turn on or turn off the sound. Each layout has its own ‘Sound’ button.

The Start Page

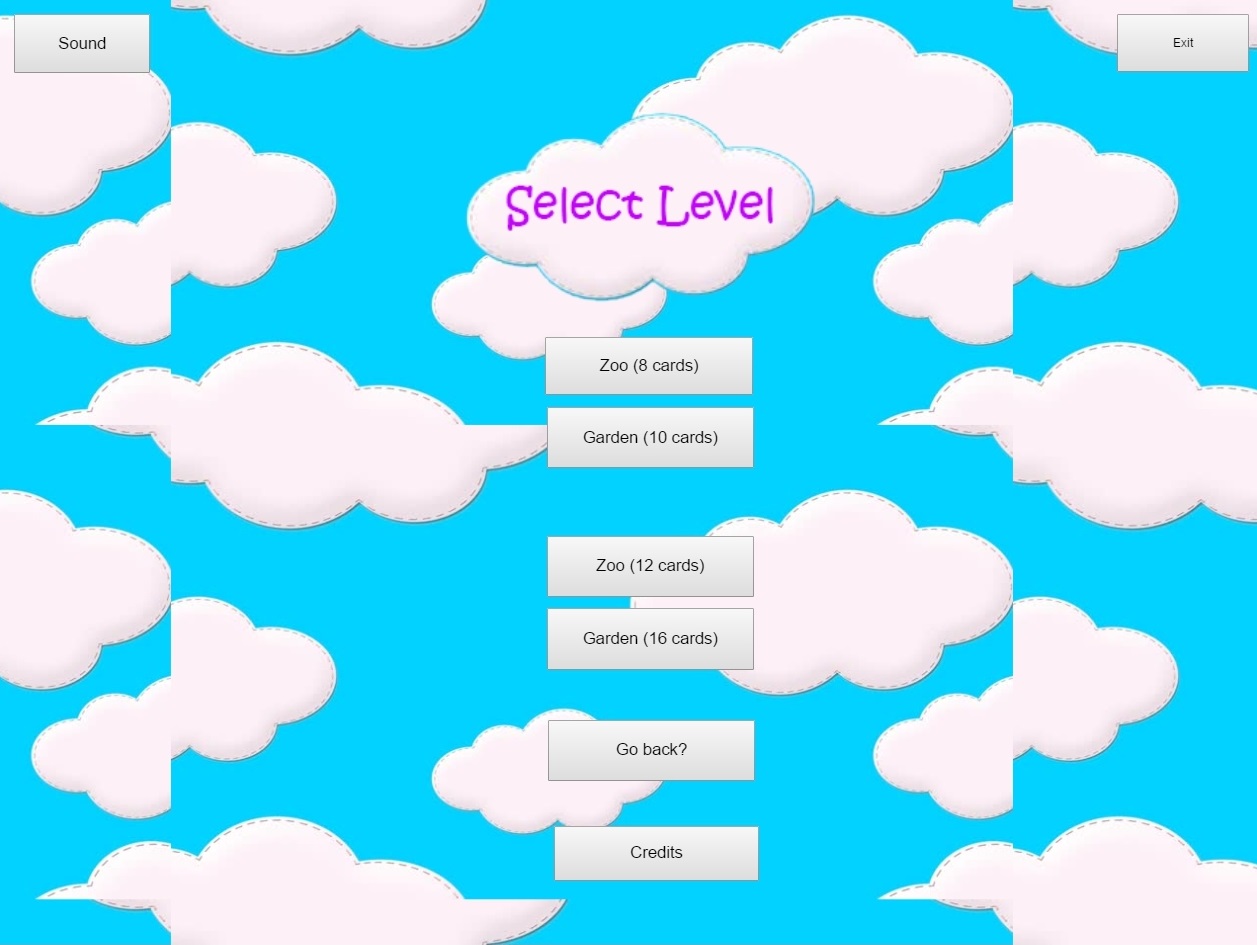
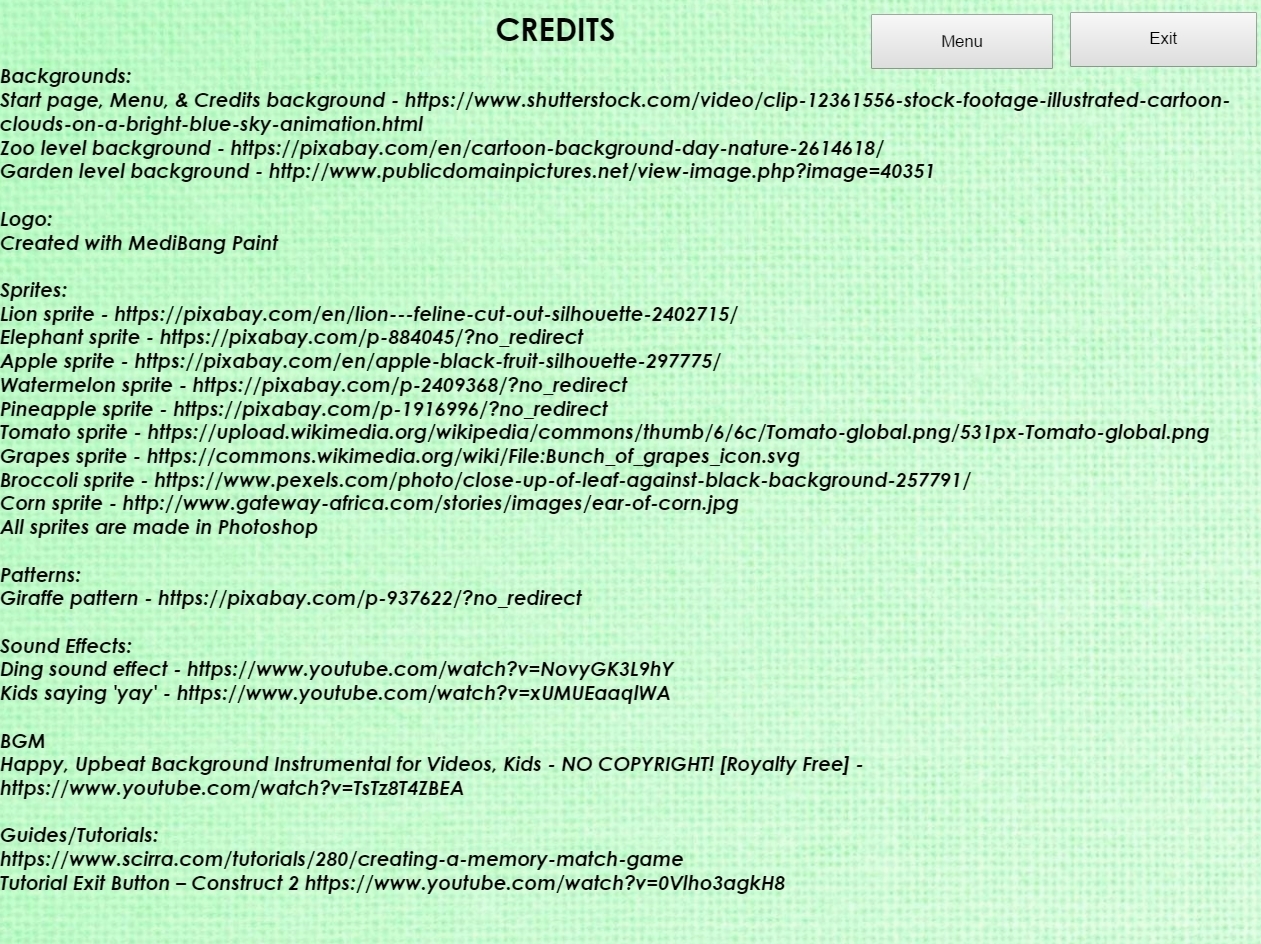
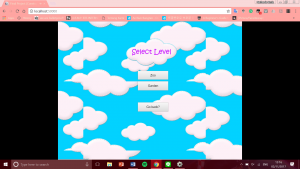
After pressing the ‘Start’ button, the user will be directed to the level selection layout. The selection layout is where the user can pick which level they want to play. There will be two categories and four levels (two levels for each category). Other than selecting levels, the user can also click the ‘Credits’ button to see the credits. If the user wants to go back to the start page they can click the ‘Go back?’ button. If the user wants to exit the game, they can click the ‘Exit’ button.

The ‘Select level’ layout
‘Credits’ layout


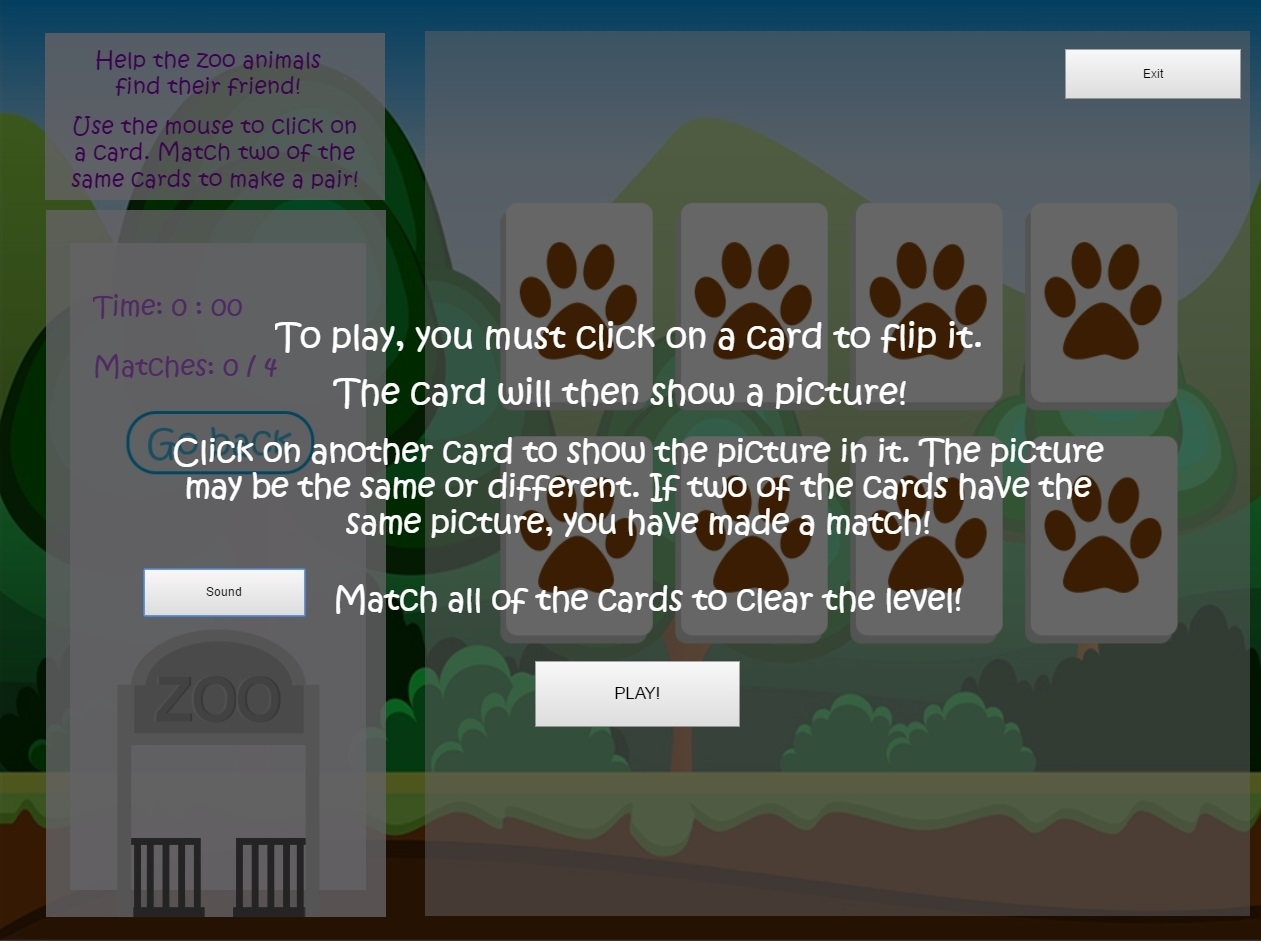
If the user chooses ‘Zoo (8 cards)’, they will be directed to the zoo layout. The instruction of the game is shown before the game is started.

The ‘Zoo (8 cards)’ level layout

When the ‘PLAY!’ button is clicked, the game will start.

The ‘Zoo (8 cards)’ level layout starts

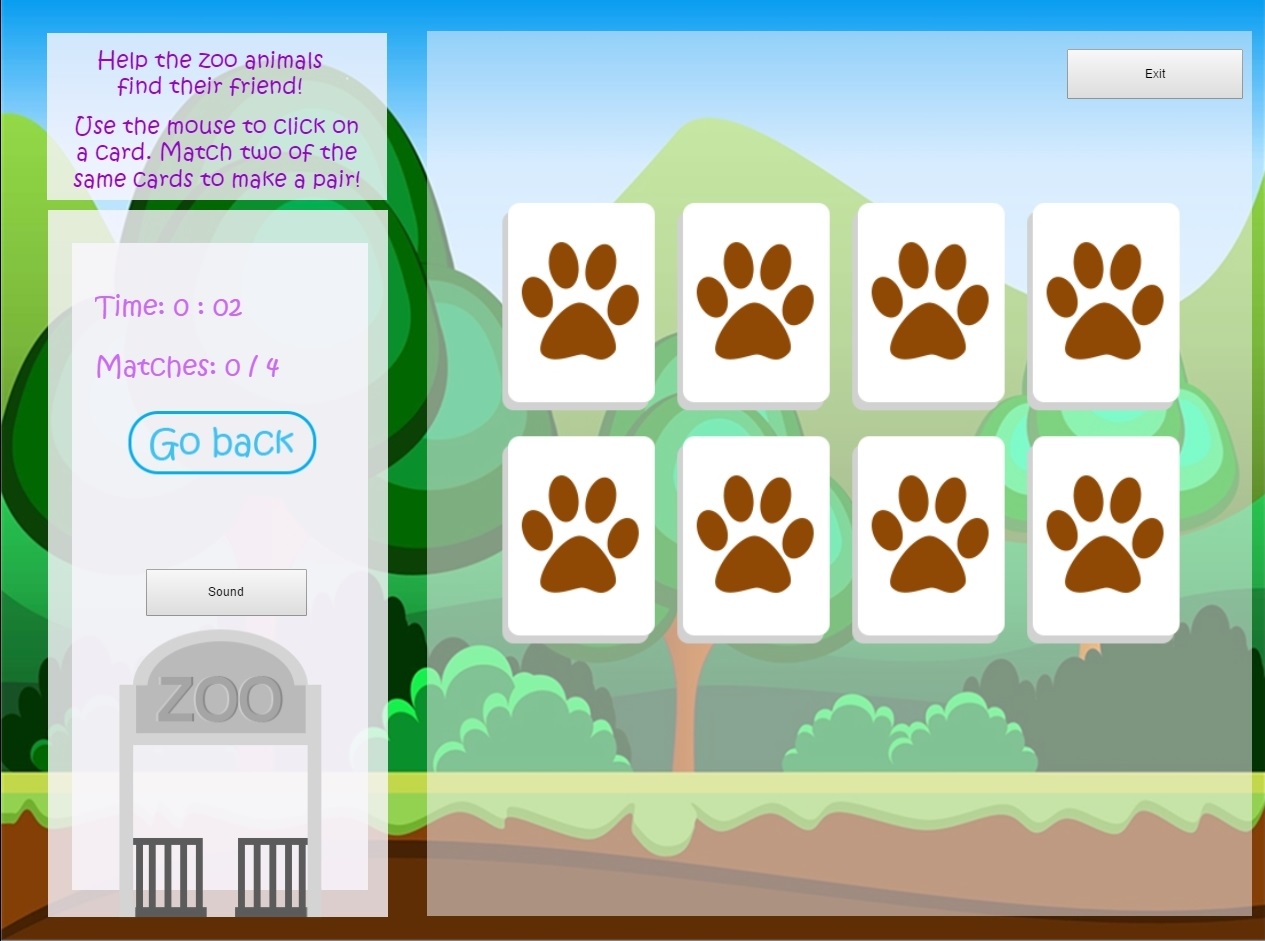
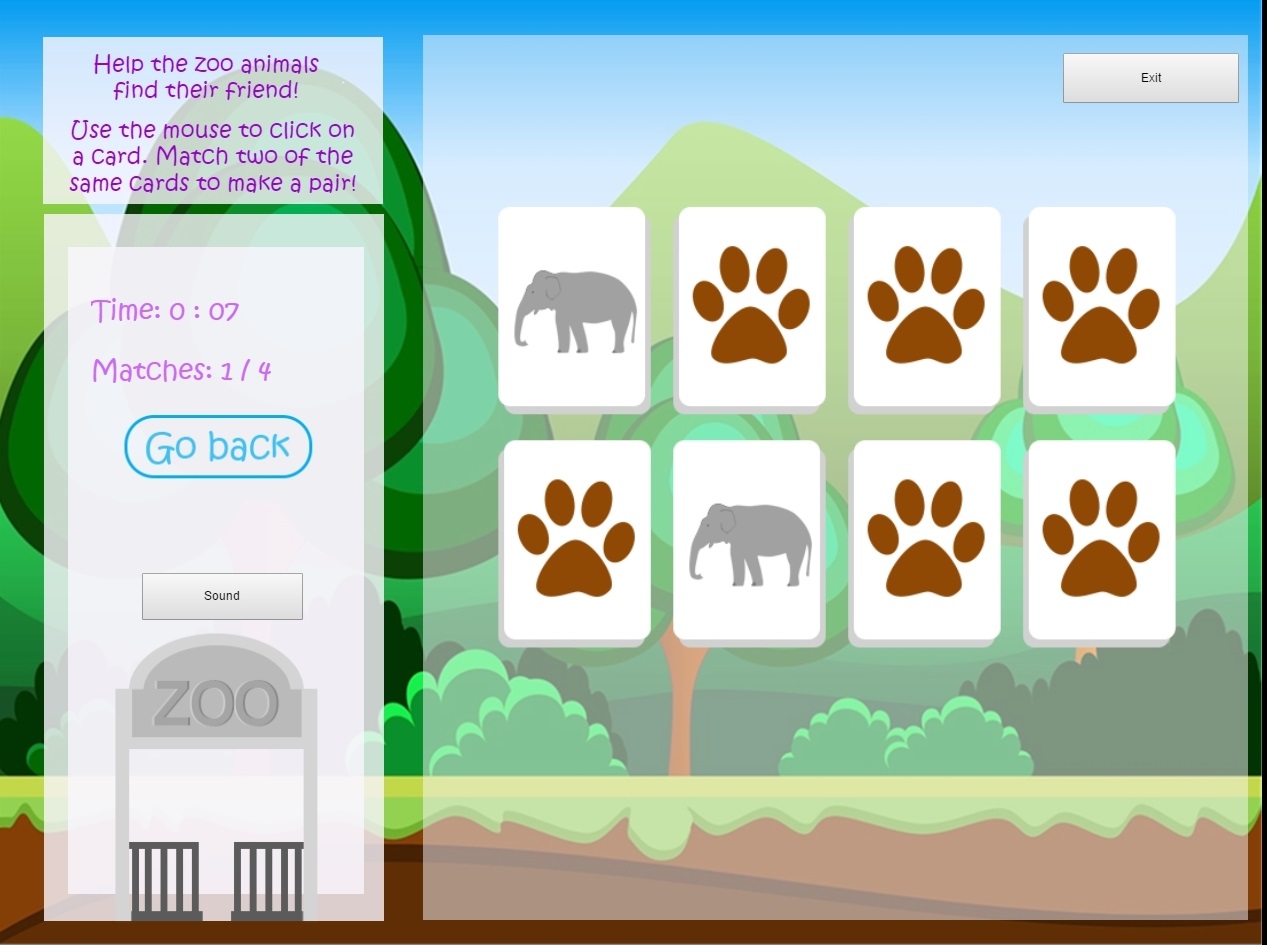
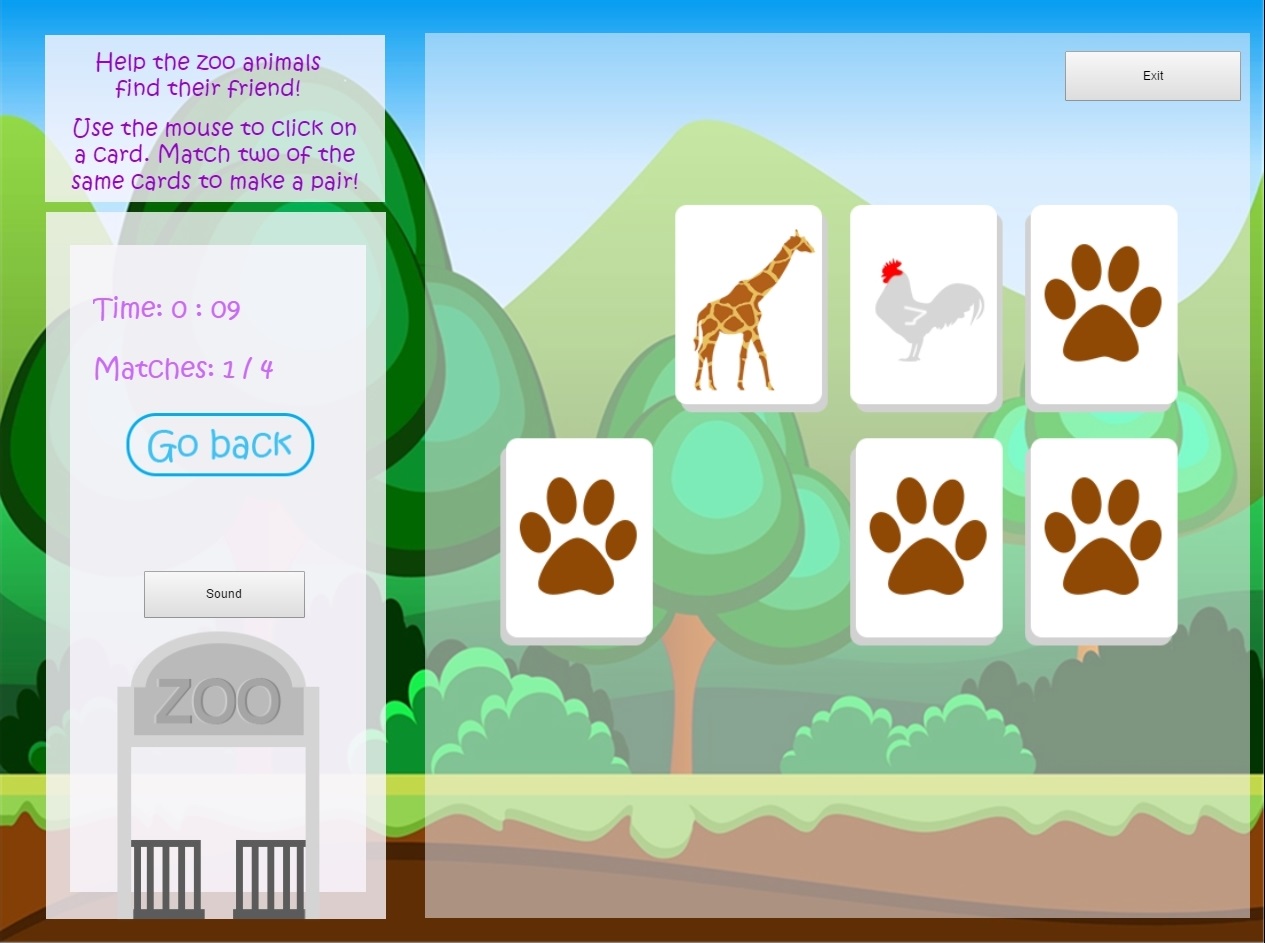
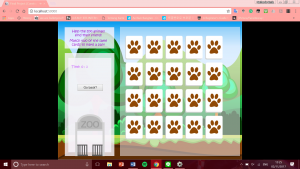
The user needs to find a pair of matching cards like in the picture below in order to get a score.

The ‘Zoo (8 cards)’ level layout

If the user is finished and wants to try more challenging level, the user can go to the level selection menu and click the ‘Zoo (12 cards)’ level.

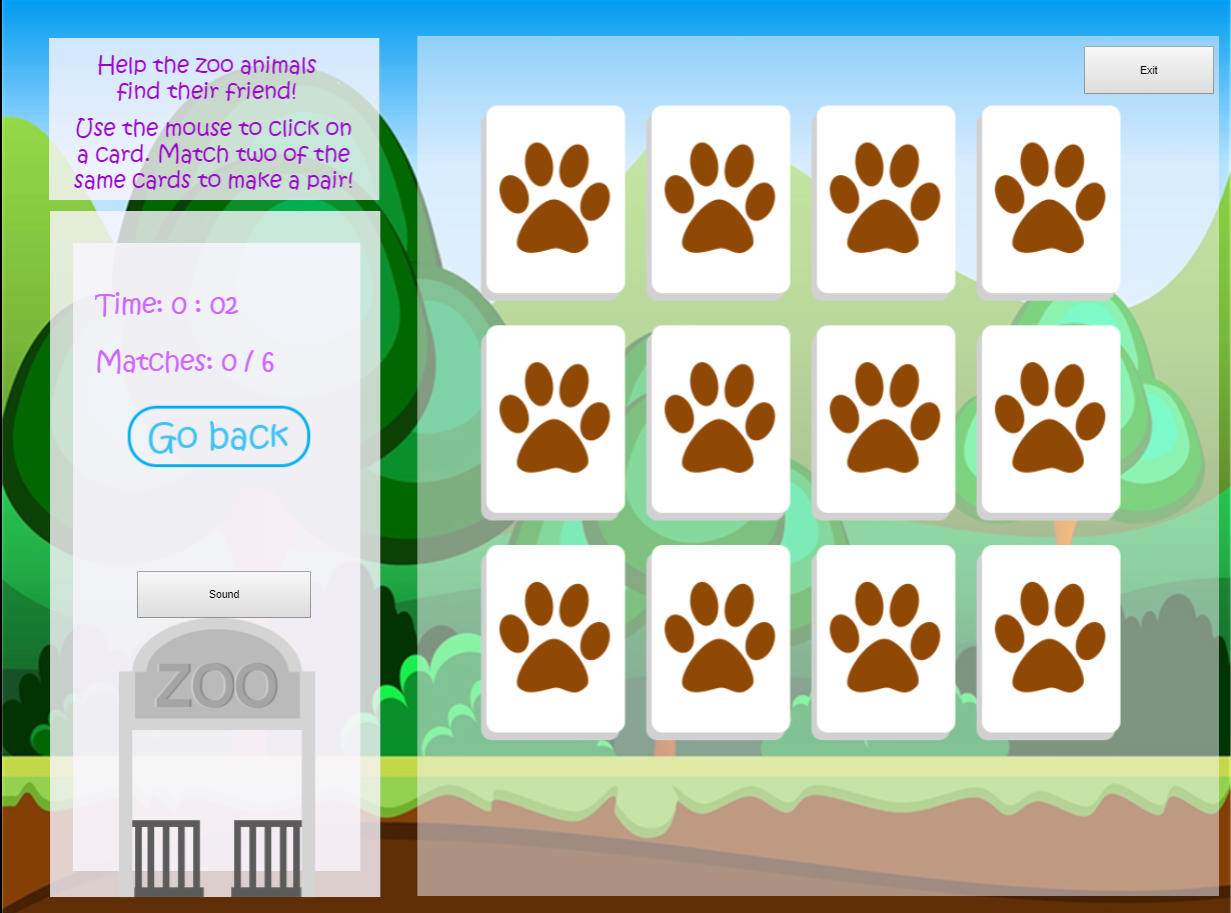
The ‘Zoo (12 cards)’ level layout

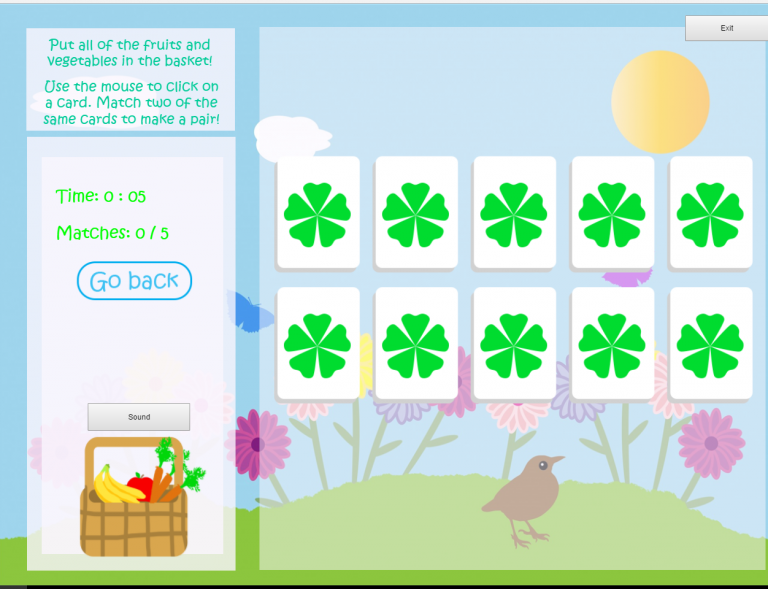
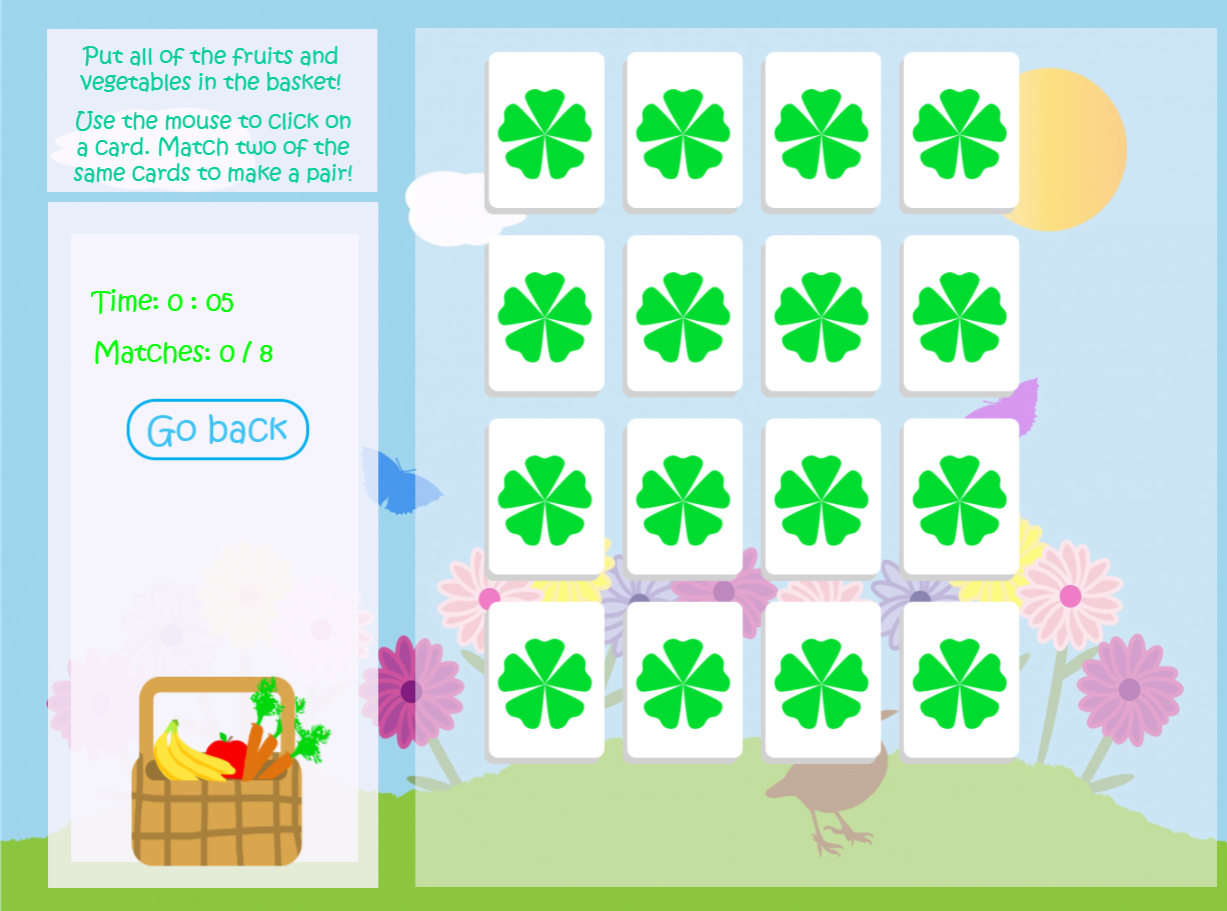
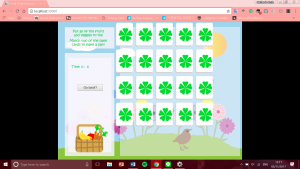
Another level selection is the ‘Garden Level’  which is a level with fruits on it. There are two levels in the ‘Garden Level’ which are ‘Garden (10 cards)’  and ‘Garden (16 cards)’.

The ‘Garden (10 cards)’ level layout
The ‘Garden (16 cards)’ level layout

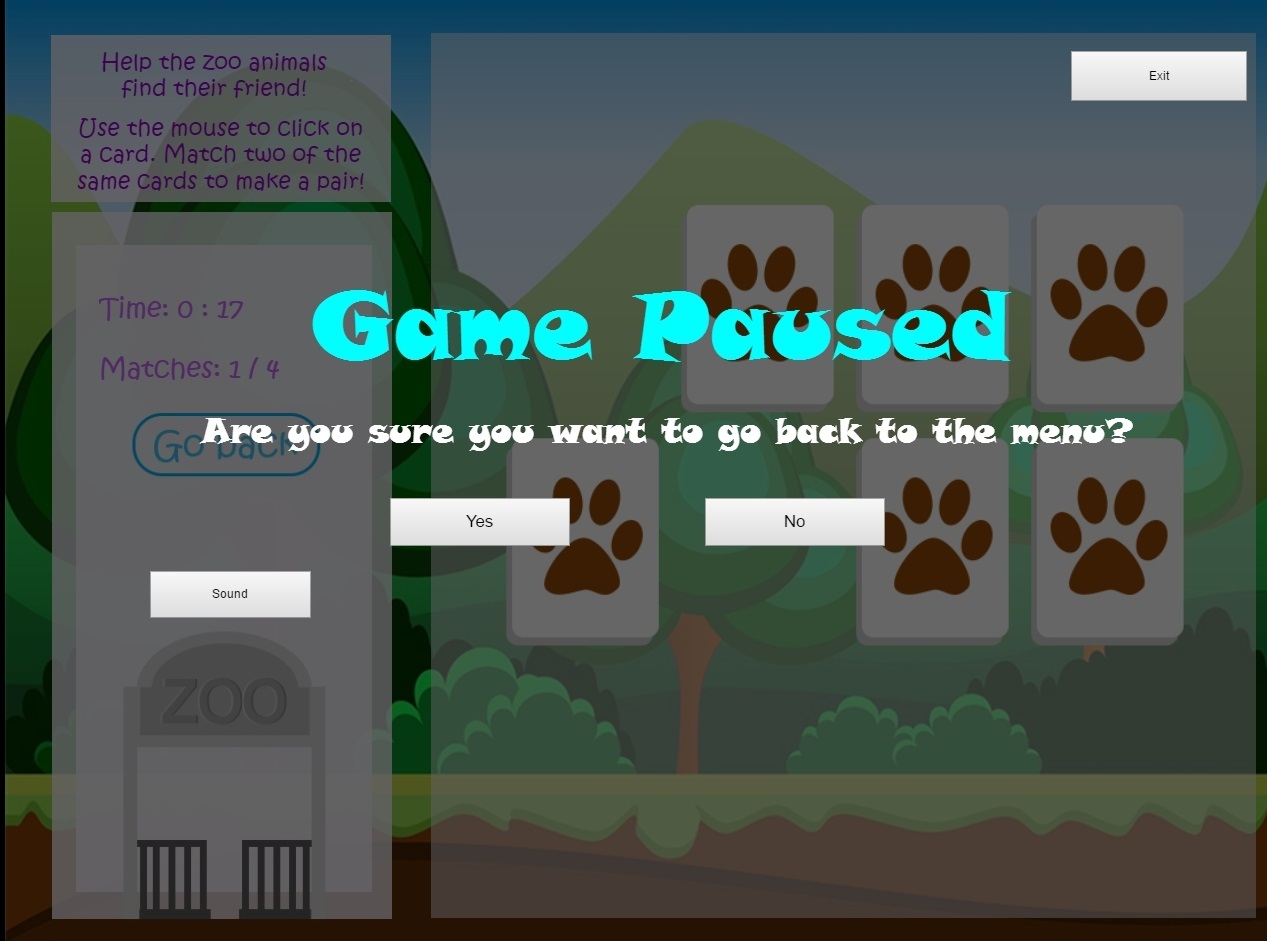
If the user wants to pause the game they can press the ‘Go Back ‘ button and they have the choice to return to the menu or stay on the game.

Pause

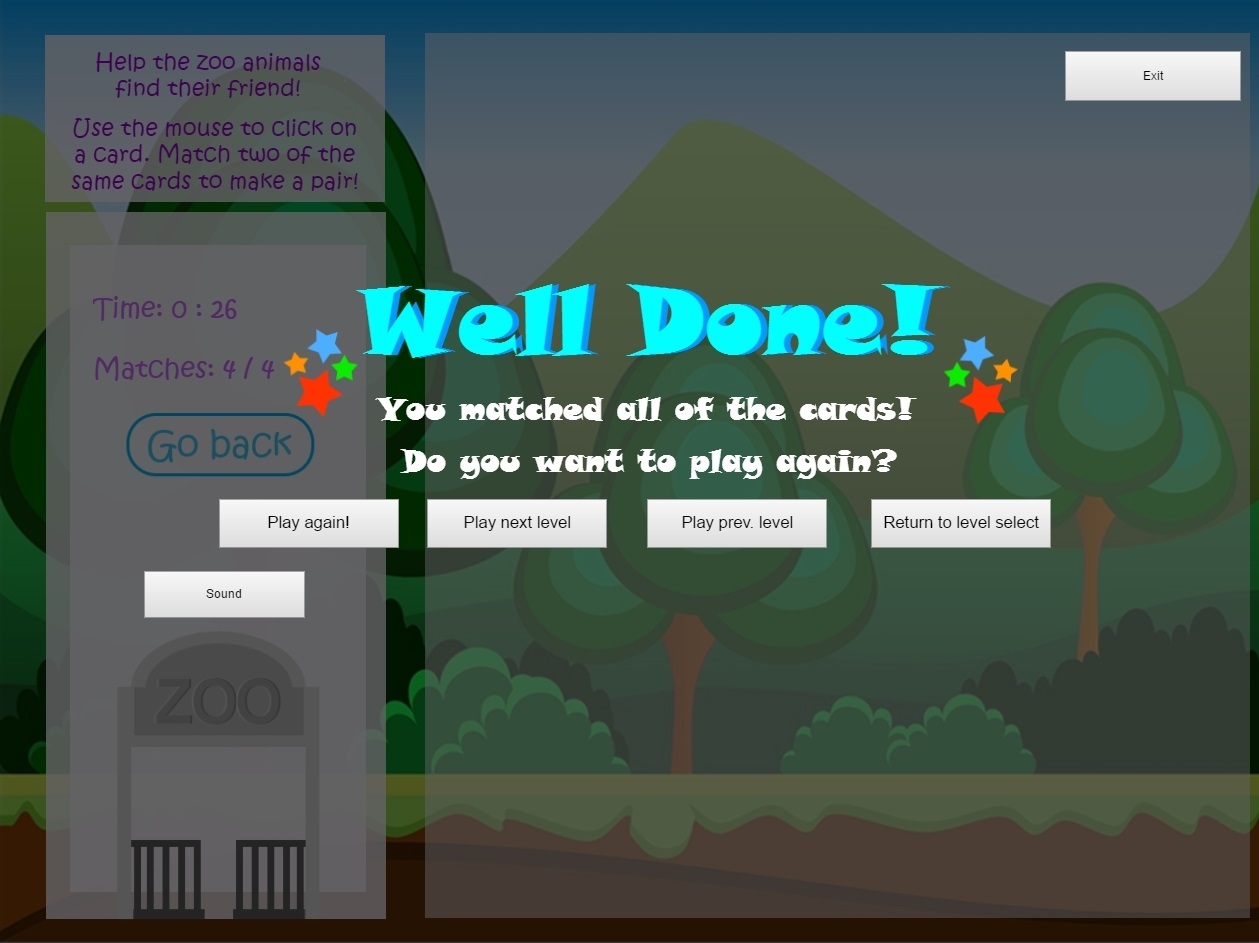
When the user finishes the game, the screen will display ‘Well Done’  and gives the user choices to play again, select level, or play previous/next level.

‘Well Done’ after game is finished


My part of the project is completing some of the missing parts (buttons, etc.), finding music and backgrounds, testing the game and finding the mistakes.  For the buttons (exit, sound, etc.), I use tutorials from youtube and scirra.com


Final Project COMP6341 Proposal

Name: Nathania Kezia Barakati – 2001586331

Group: Nathania Kezia Barakati, Regita Isada

Course: COMP6341 – Multimedia and Human & Computer Interaction

Project Type: Final Project

Project Name: Match It!

Made Using: Construct 2

About the game

Match It! is a game that is made for kindergarten children to strengthen their memory. In this game, kids have to match a card with another card with the same pictures. There are two levels of this game. The first one is the Zoo Level. It is a level with animals in it. The second level is the Garden Level. It is a level with fruits and vegetables in it.

The Start Page


Level Selection


Zoo Level


Garden Level

Database Sytems Final Project

Course Name: Database Systems

Members:  Nathania Kezia Barakati, Regita Isada, Sefira Karina

Case Study: FastCabs Company


For the final project of database systems, we are required to make a database based on a case study that was given by the lecturer. The case study is about a company called FastCabs. The FastCabs company is a company that provides taxi service for people. What we have to do for this project is to make the tables for the database and make the queries that are listed in the specification.


In this project, I am the one in charge of making the normalization, ER Diagram, and the documentation of the project.


This is the ER diagram of our project.
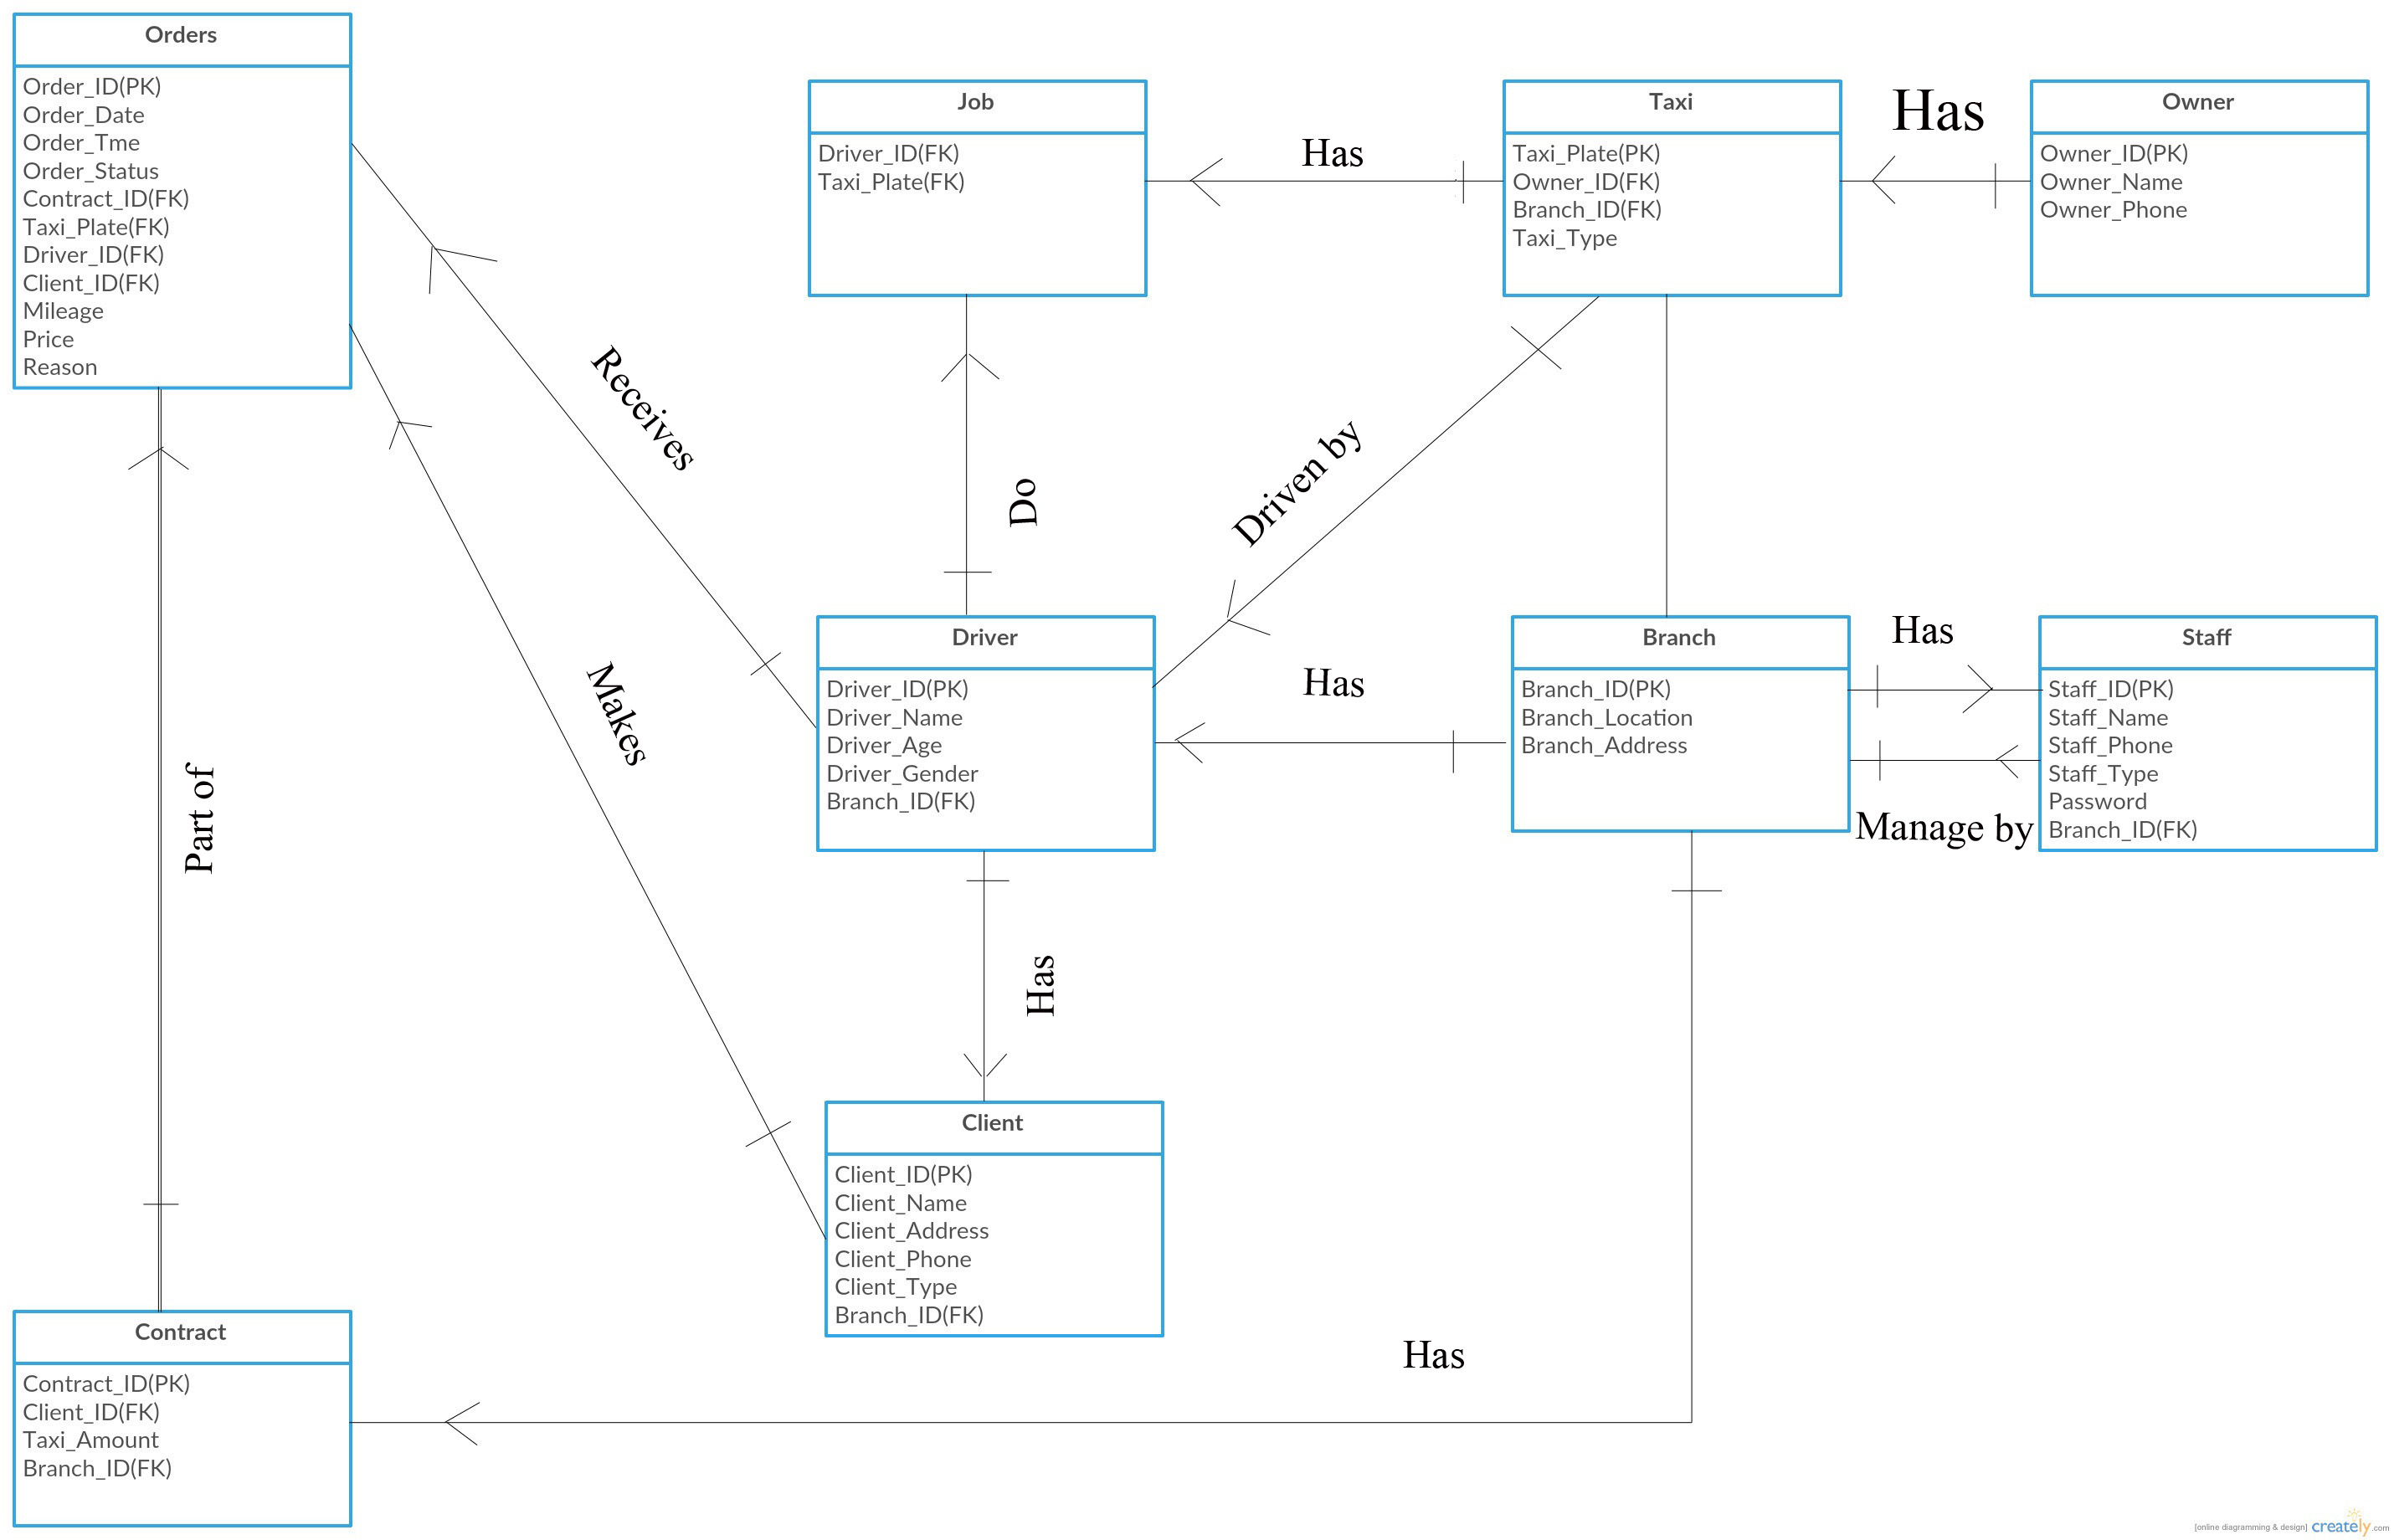
(Created with Creately)


This is the normalization. The first time it was made, it was a little confusing since we keep changing the tables.

1NF

Driver [Driver_ID, Driver_Name, Driver_Age, Driver_Gender]

Owner [Owner_ID, Owner_Name, Owner_Phone]

Staff [Staff_ID, Staff_Name, Staff_Age, Staff_Gender, Staff_Type]

Branch [Branch_ID, Branch_Location, Branch_Address]

Taxi [Taxi_Plate]

Client [Client_ID, Client_Name, Client_Address, Client_Phone, Client_Type]

Contract [Contract_ID, Client_ID, Fee, Taxi_Amount]

Order [Order_ID, Order_Date, Order_Time, Mileage, Price, Order_Status, Reason, Price]


2NF

Driver [Driver_ID, Driver_Name, Driver_Age, Driver_Gender]

Owner [Owner_ID, Owner_Name, Owner_Phone]

Staff [Staff_ID, Staff_Name, Staff_Age, Staff_Gender, Staff_Type]

Branch [Branch_ID, Branch_Location, Branch_Address]

Taxi [Taxi_Plate]

Client [Client_ID, Client_Name, Client_Address, Client_Phone, Client_Type]

Contract [Contract_ID, Client_ID, Fee, Taxi_Amount]

Order [Order_ID, Order_Date, Order_Time, Mileage, Price, Order_Status, Reason, Price]


3NF

Driver [Driver_ID, Branch_Location(FK), Driver_Name, Driver_Age, Driver_Gender]

Owner [Owner_ID, Owner_Name, Owner_Phone]

Staff [Staff_ID, Branch_Location(FK), Staff_Name, Staff_Age, Staff_Gender, Staff_Type]

Branch [Branch_ID, Branch_Location, Branch_Address]

Taxi [Taxi_Plate, Branch_Location(FK), Taxi_Plate(FK)]

Client [Client_ID, Client_Name, Client_Address, Client_Phone, Client_Type]

Contract [Contract_ID, Client_ID(FK), Branch_Location(FK), Fee, Taxi_Amount]

Order [Order_ID, Order_Date, Order_Time, Mileage, Price, Order_Status, Reason, Price]

Jobs[Driver_ID(FK), Taxi_Plate(FK)]

***Primary Key is underlined and bold