

Kali Linux Installation Using Oracle Virtual Box Tutorial
Creating the VM
Open the Oracle Virtual Box and click the start button
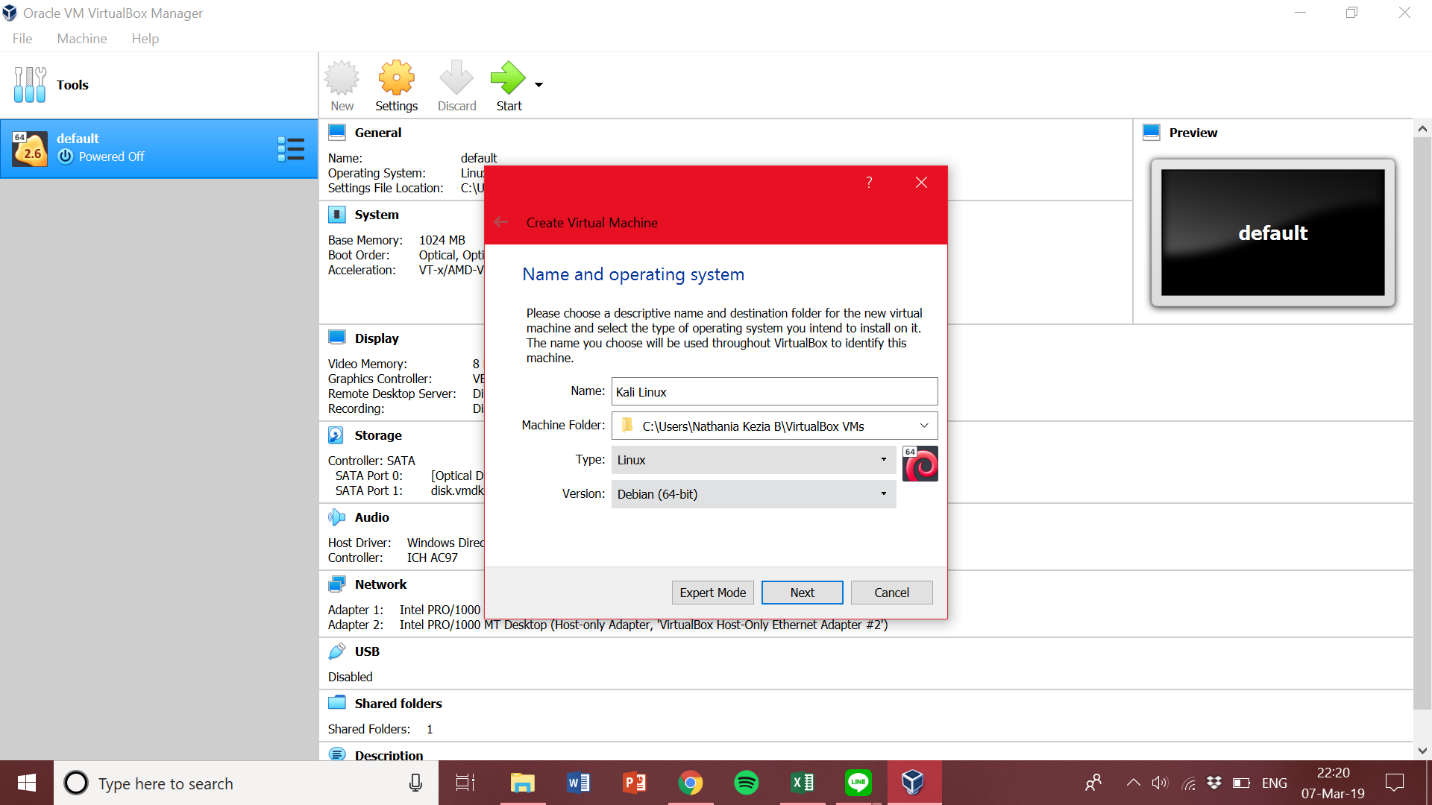
Name the virtual machine and give path for the files. Pick Linux as the type and Debian(32-bit) or Debian(64-bit) as the version.
Select the file location and size. Change the size to 20.00 GB. 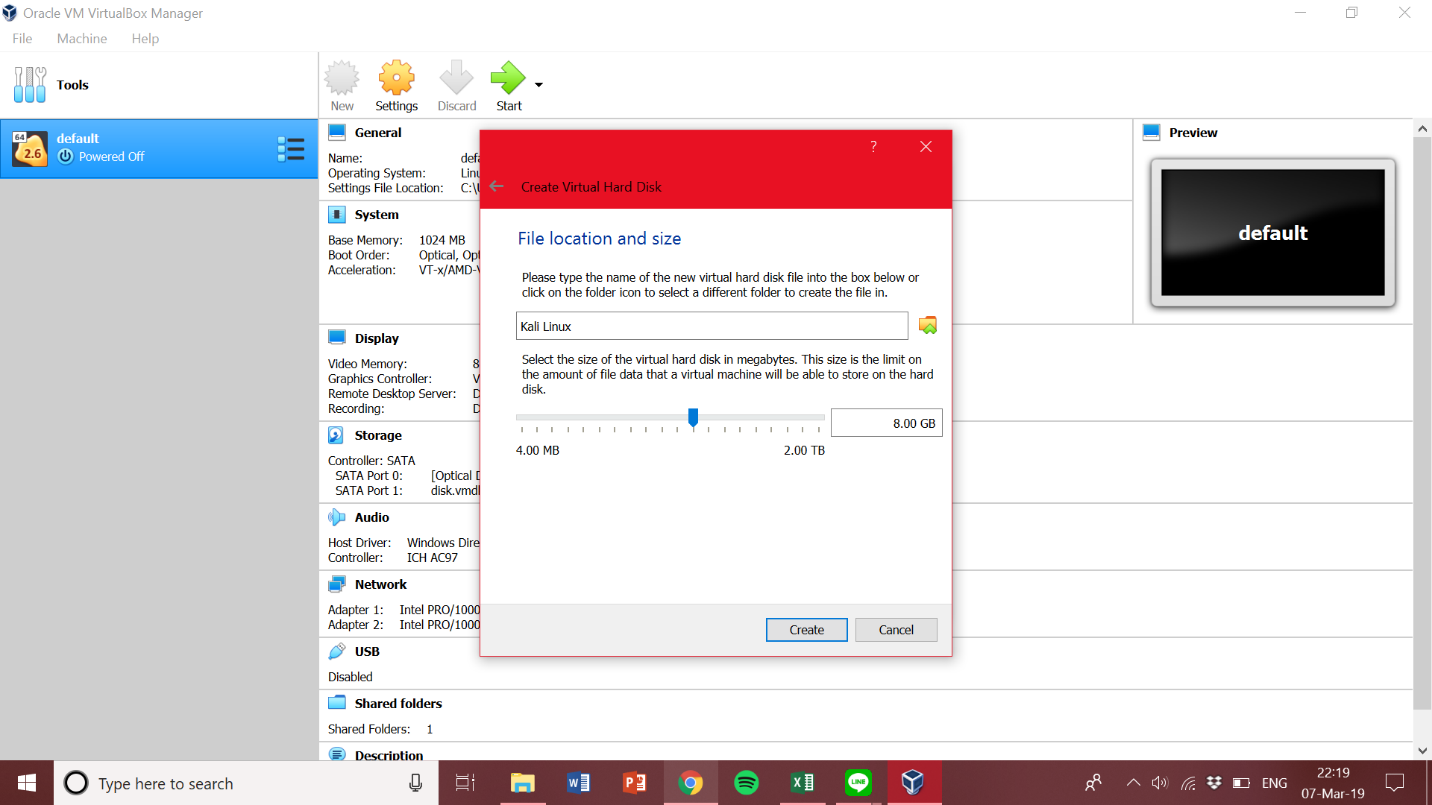
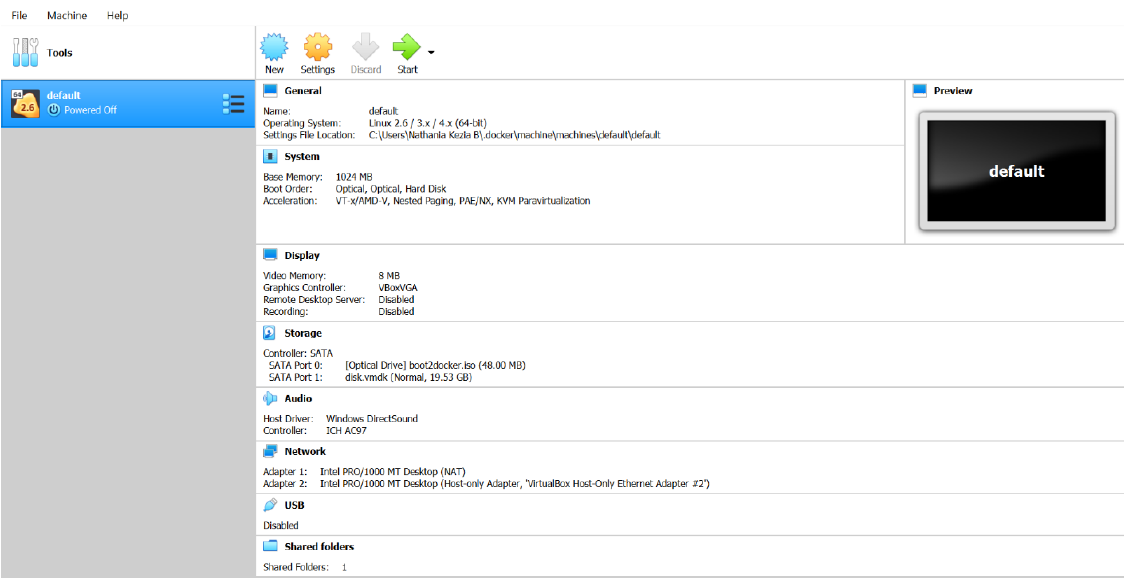
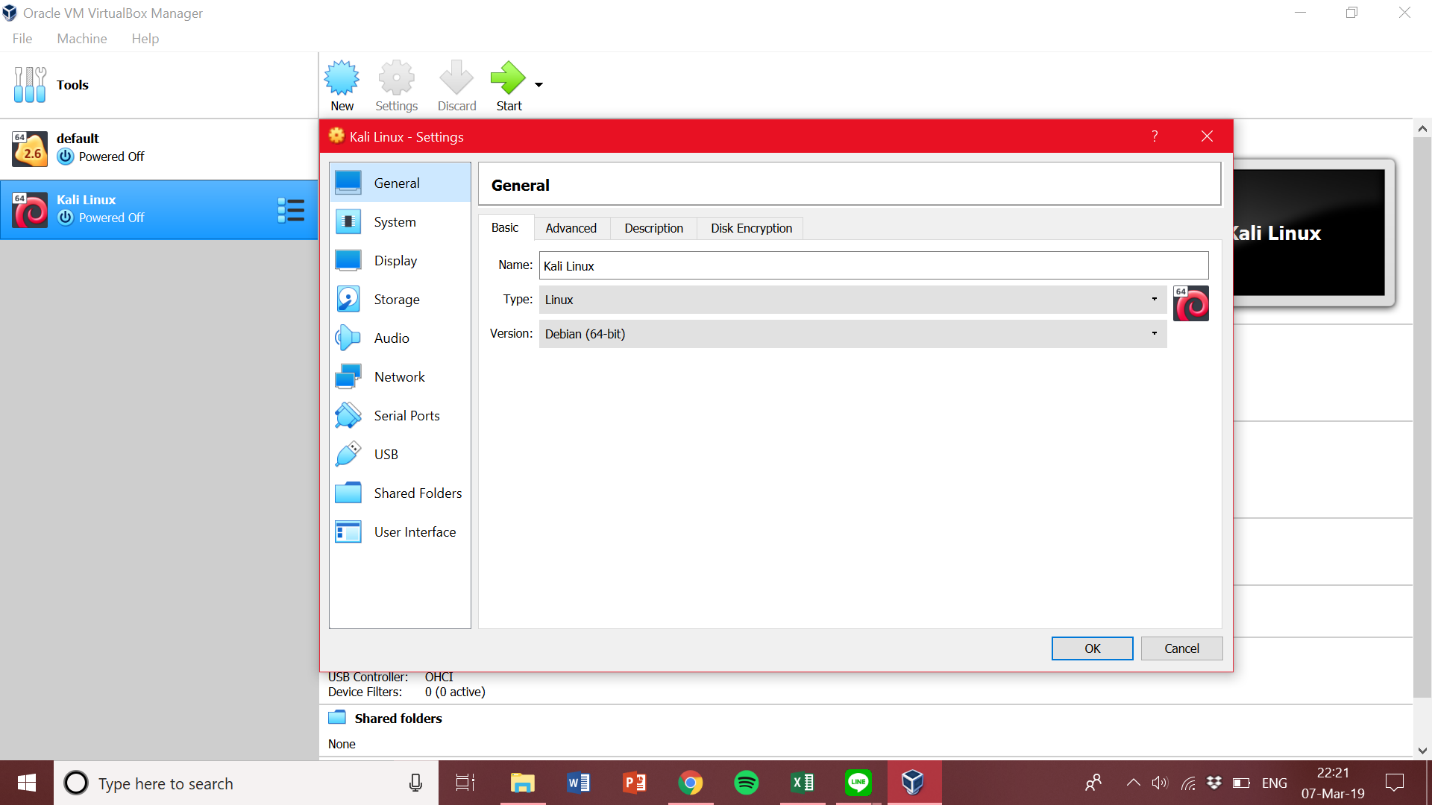
After that, the VM is made.
The next step is to choose a disk for the VM. Go to the storage tab
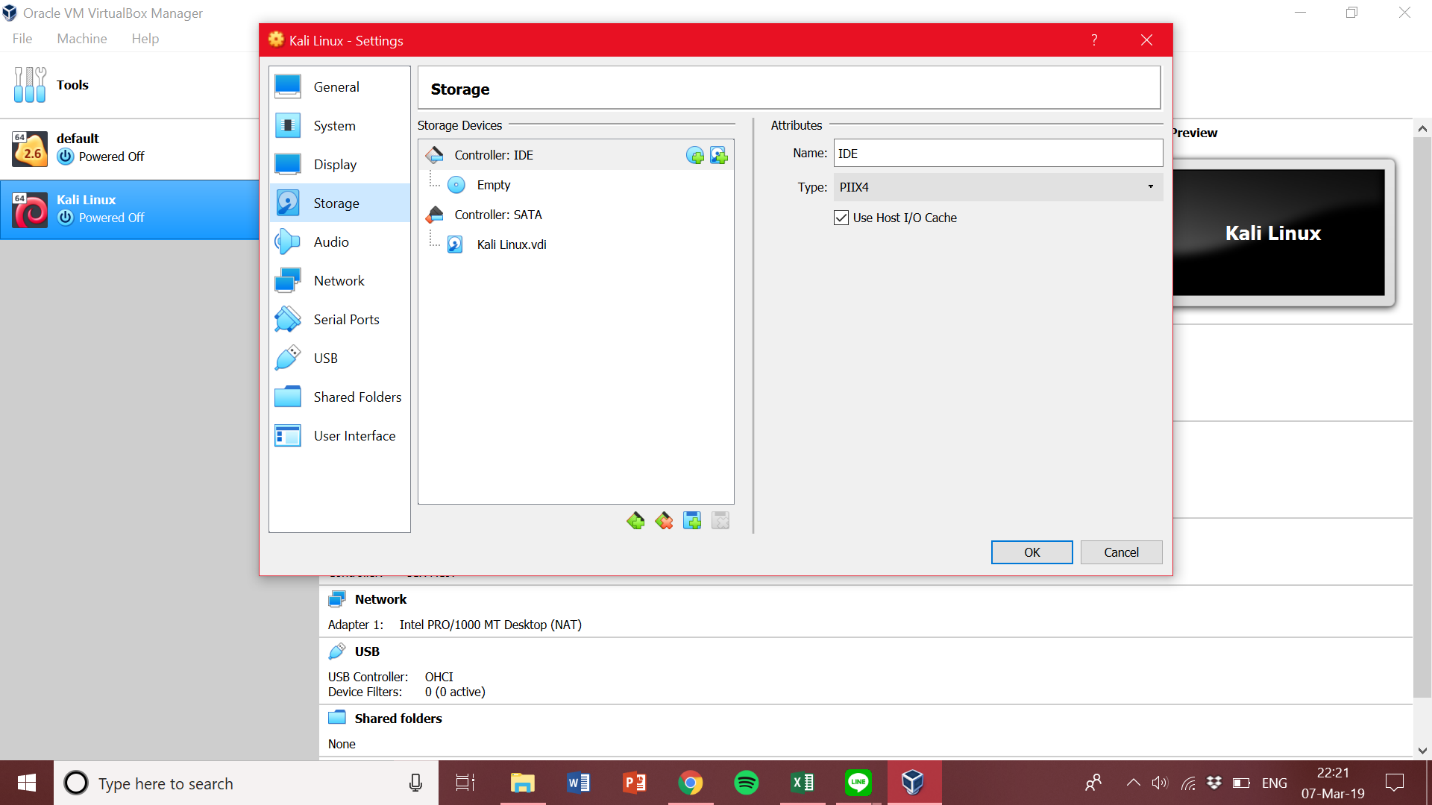
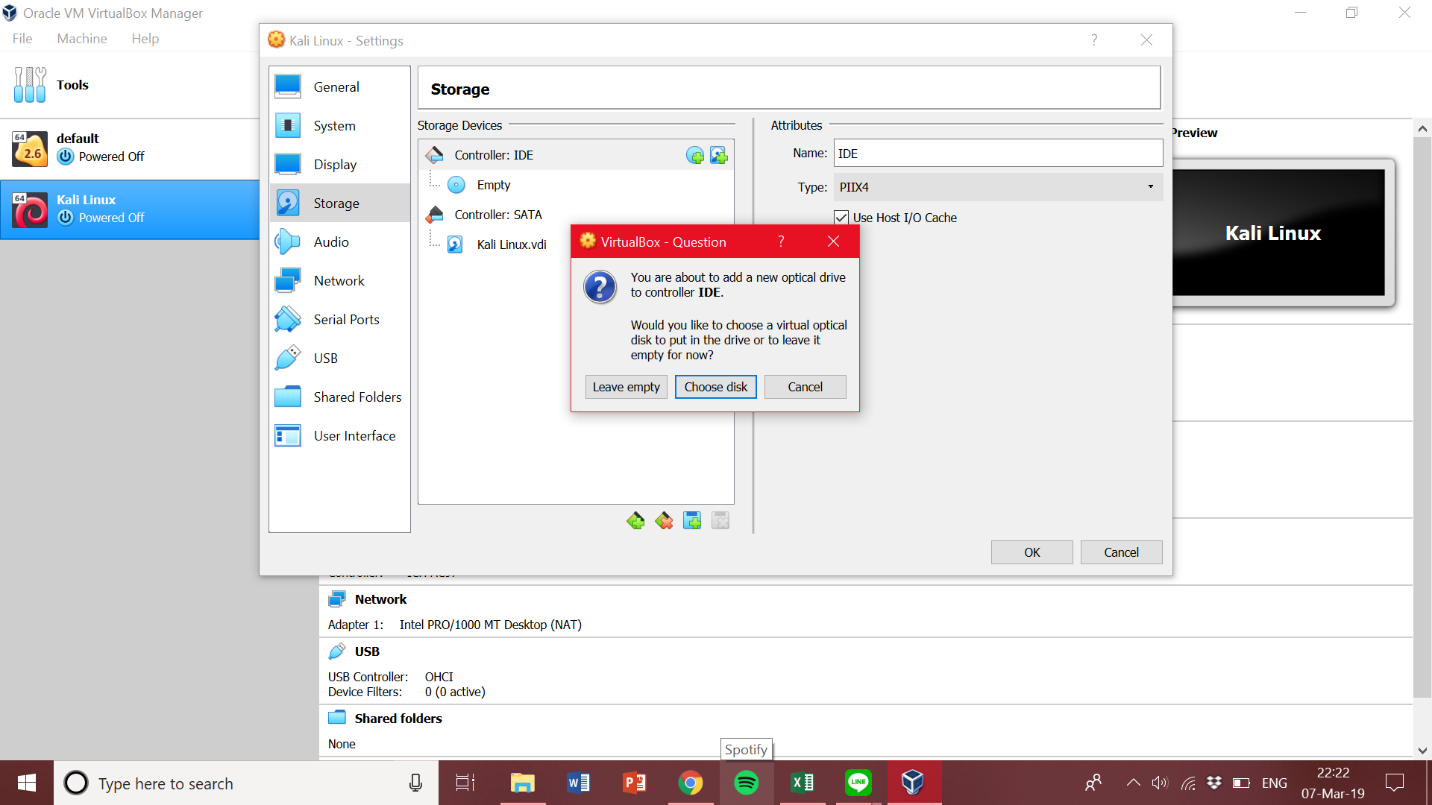
Click the CD-shaped button to add a disk.
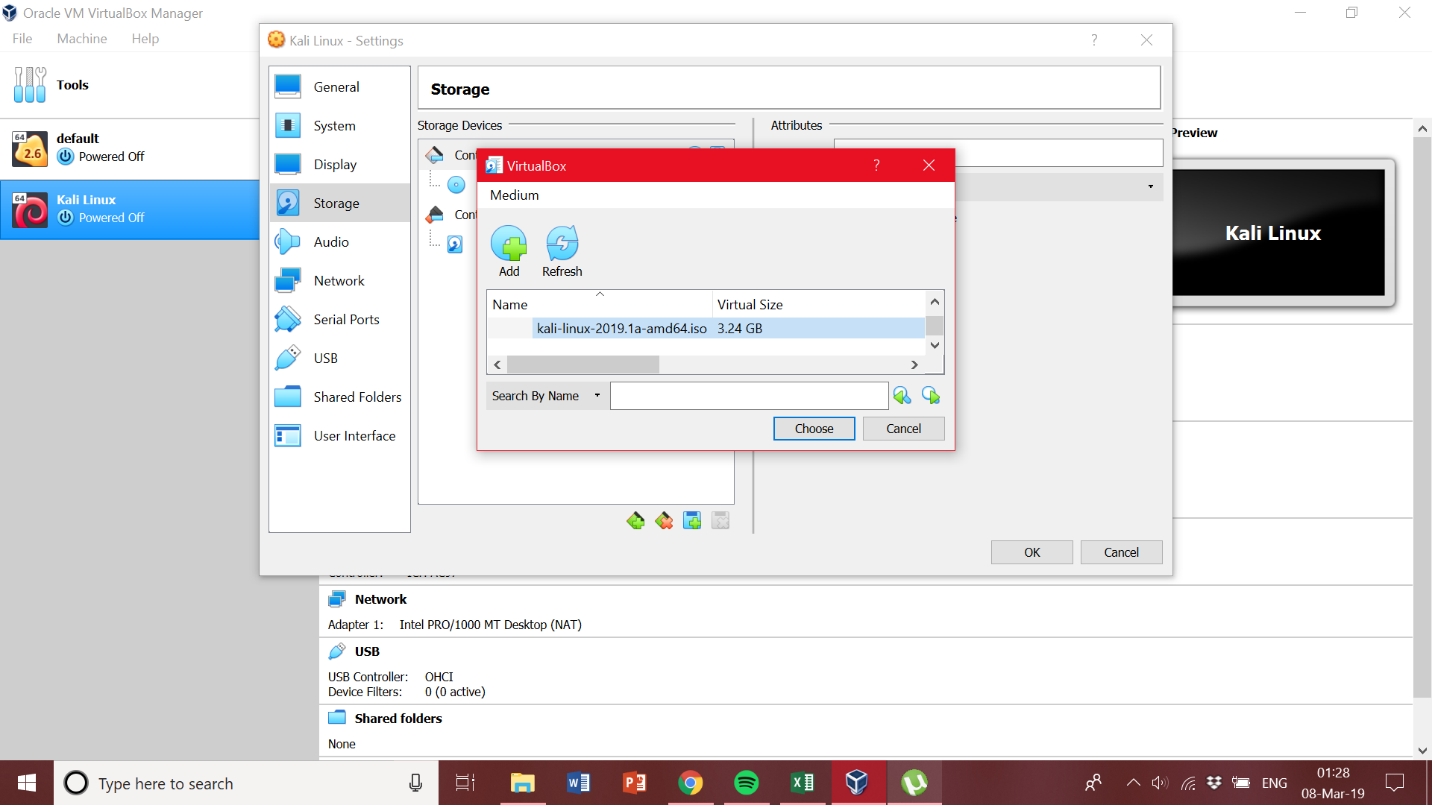
Select the Kali Linux iso file that has been downloaded,
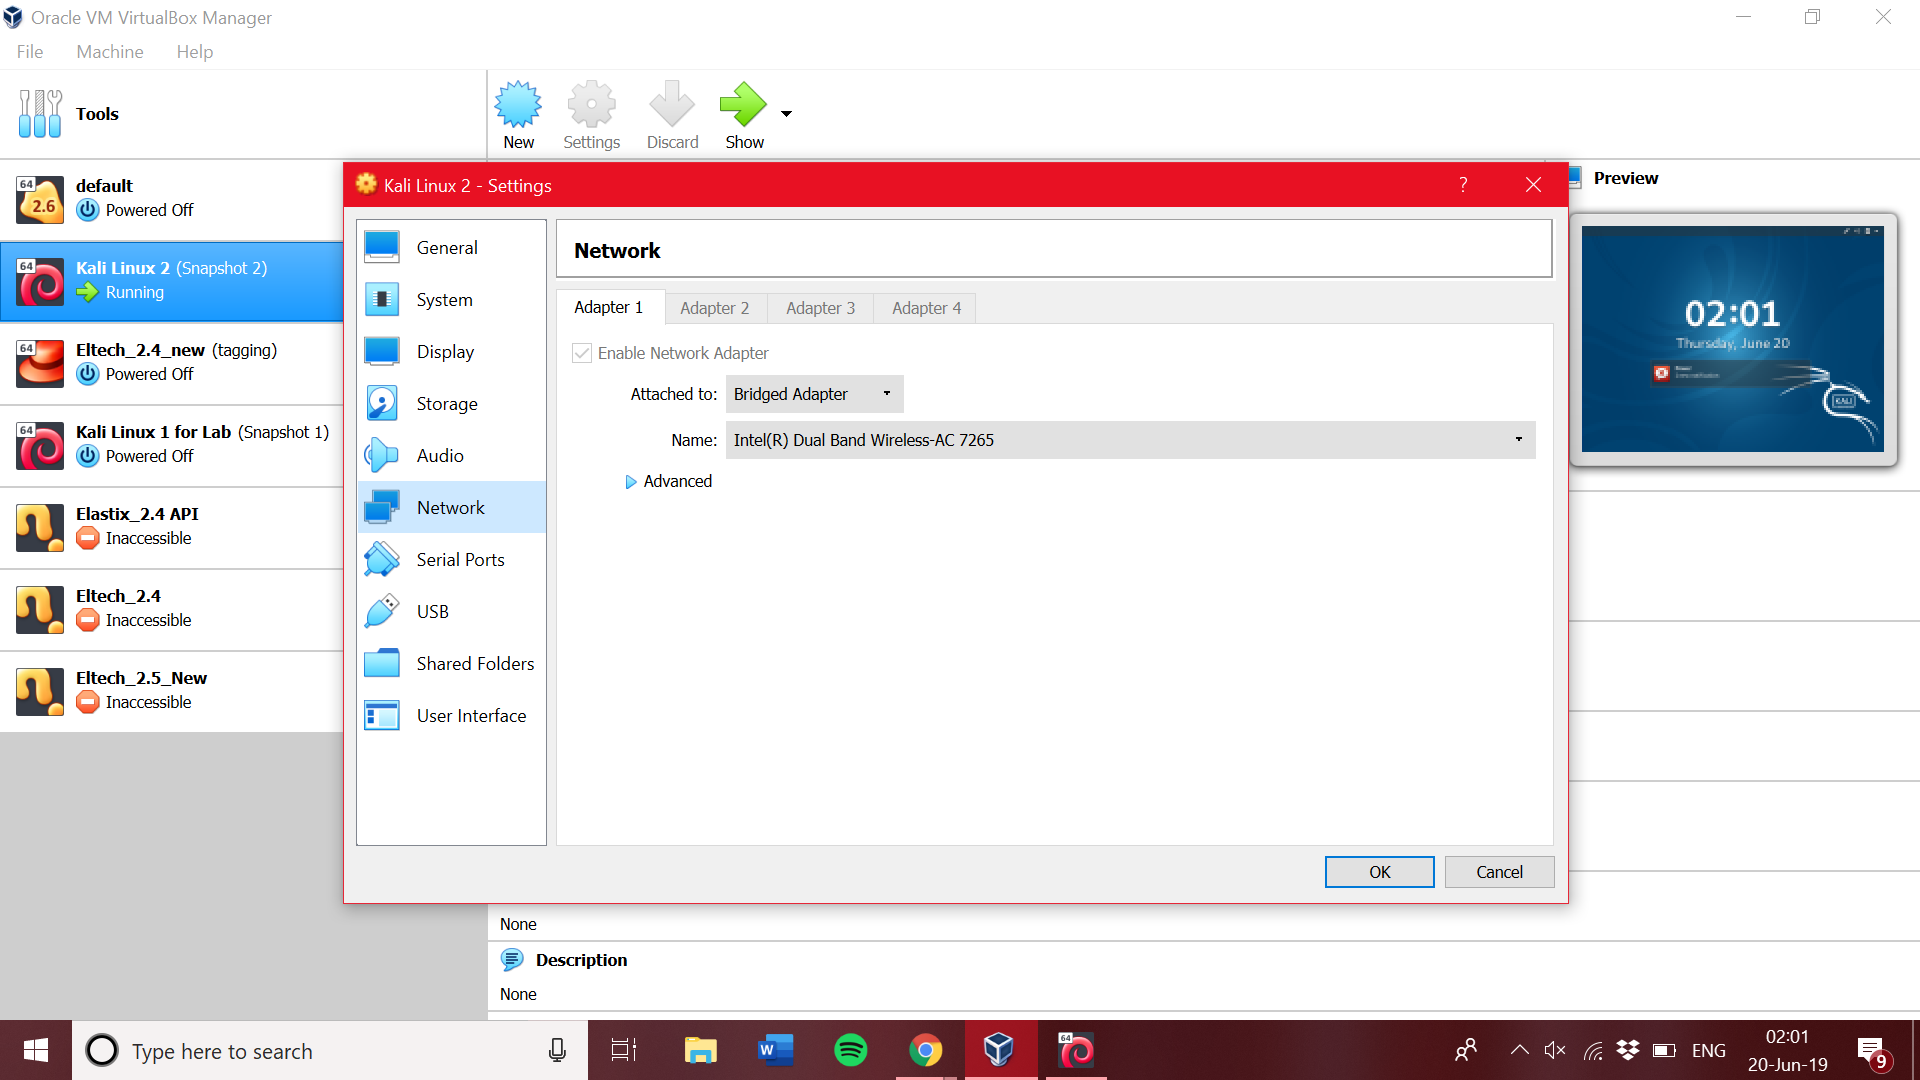
Go to the network tab and choose Bridged Adaptor in the Attached to option
Kali Linux Installation
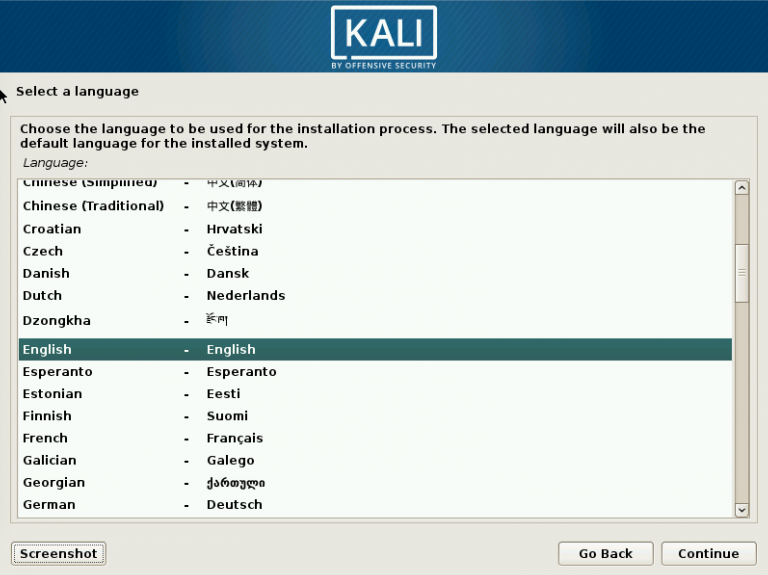
Select the preferred language
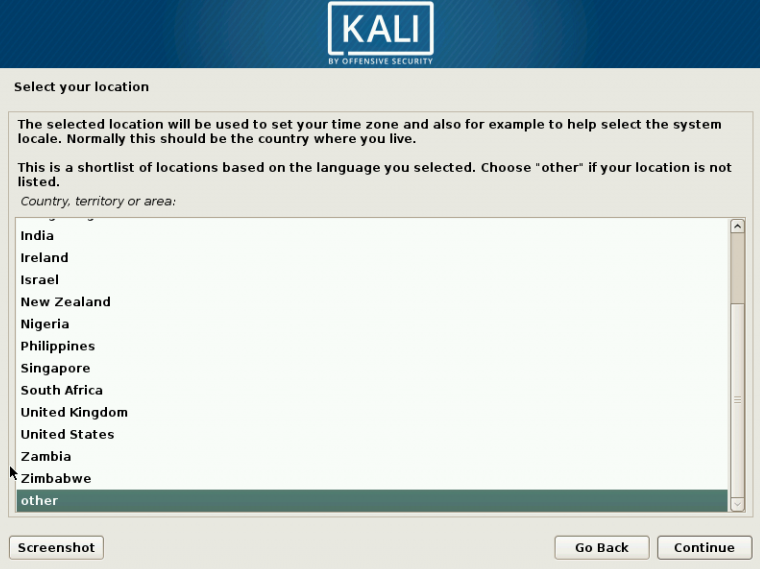
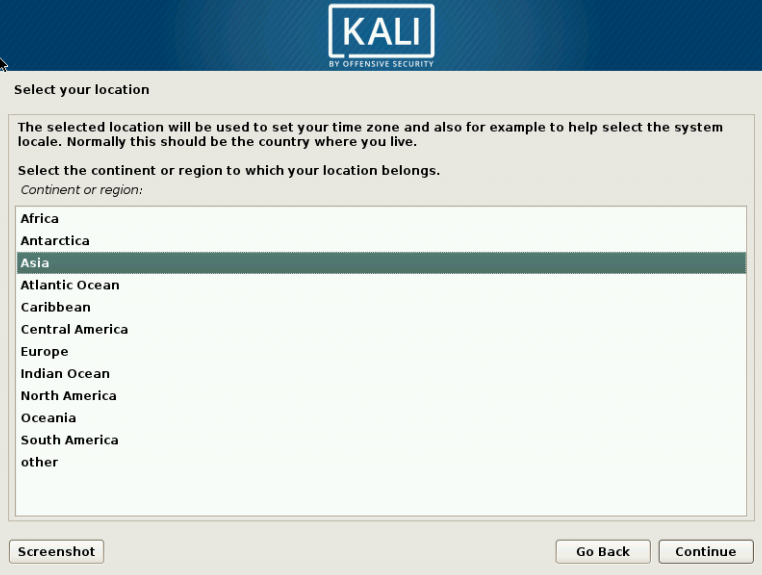
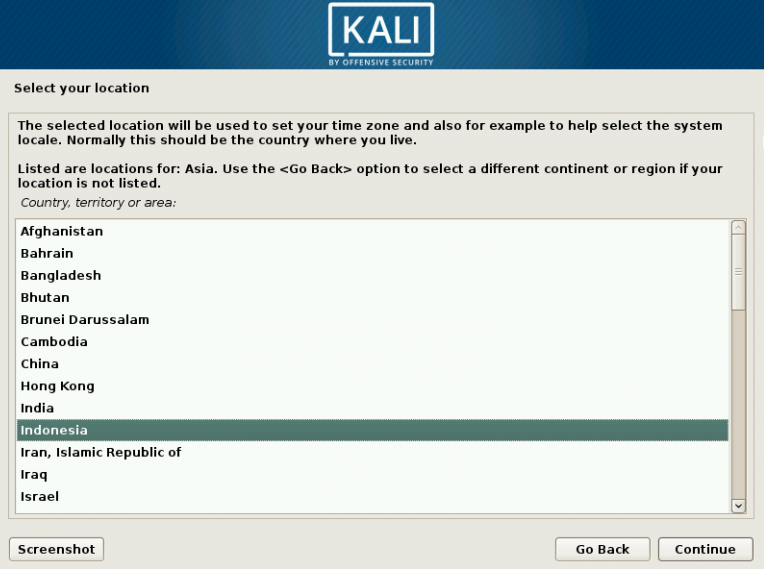
Select location
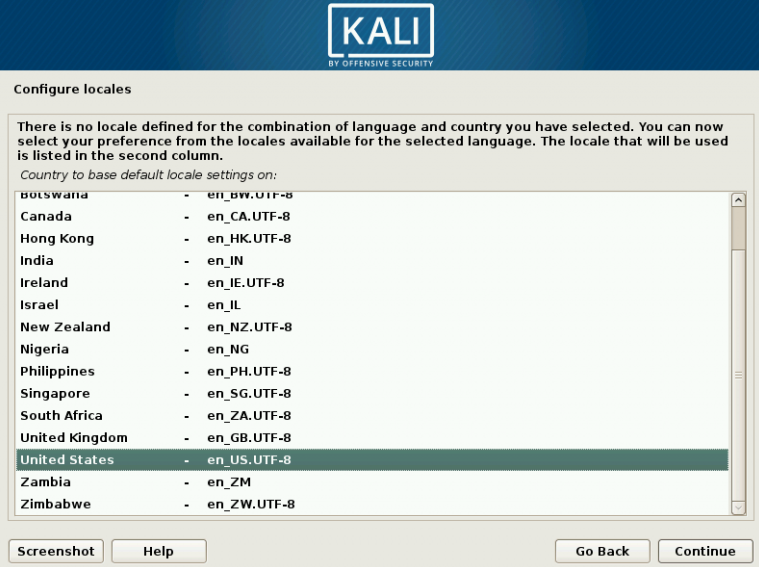
Configure locales
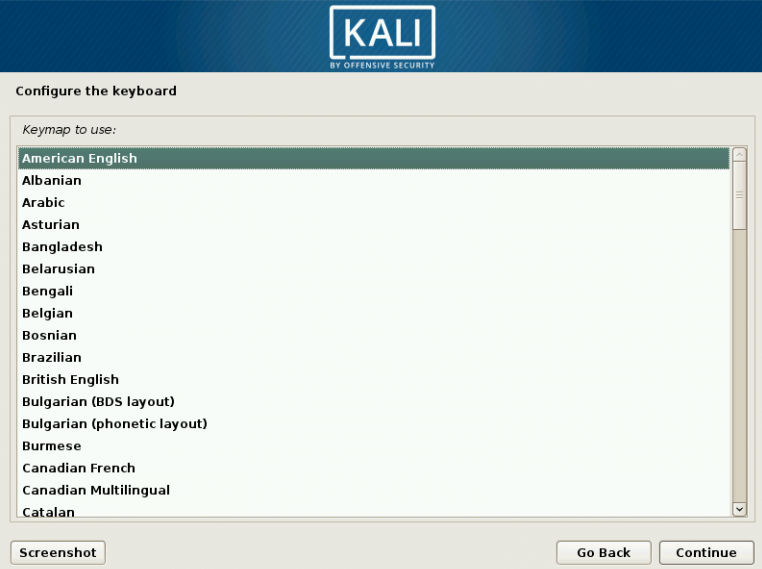
Configure keyboard
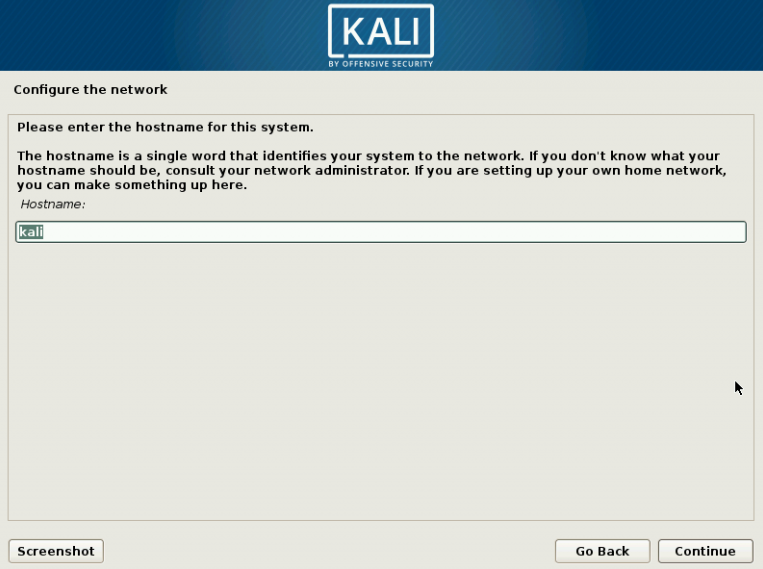
Enter hostname
Enter domain name (optional)

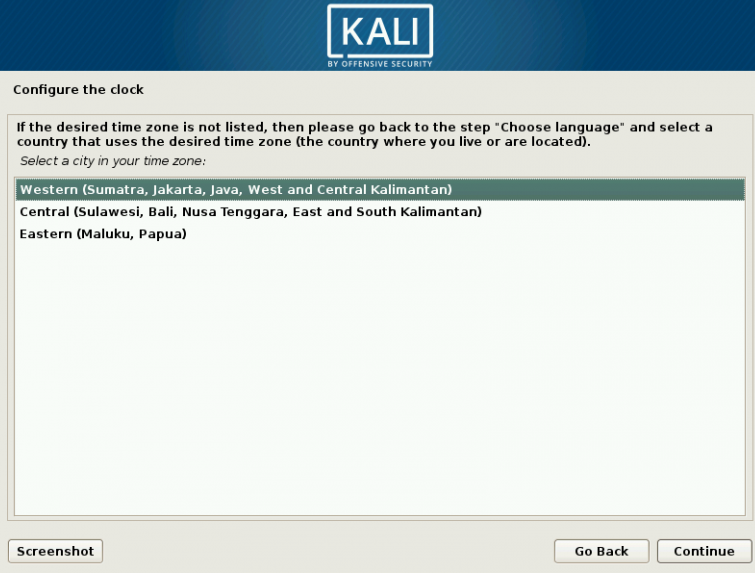
Select clock
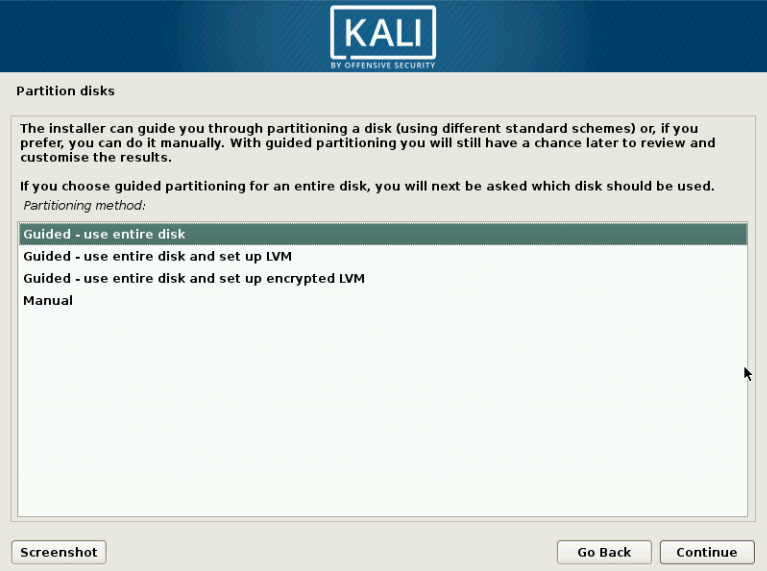
Select partitioning method
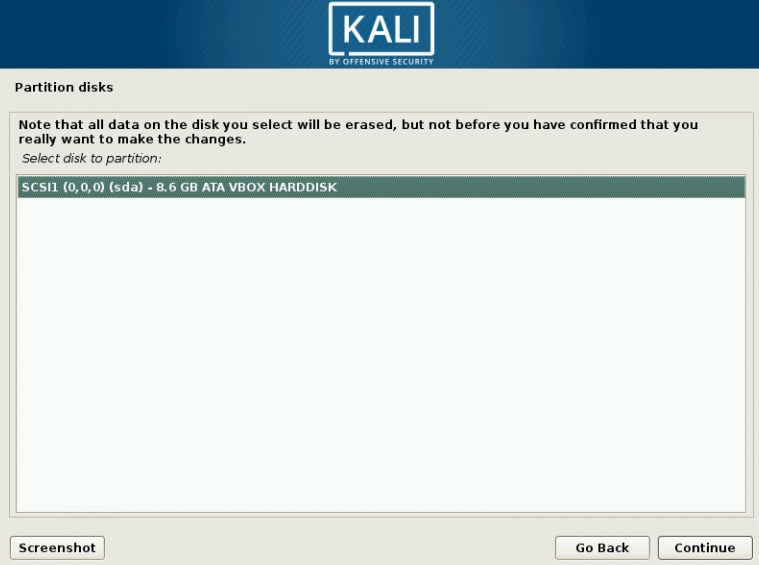
Select disk to partition
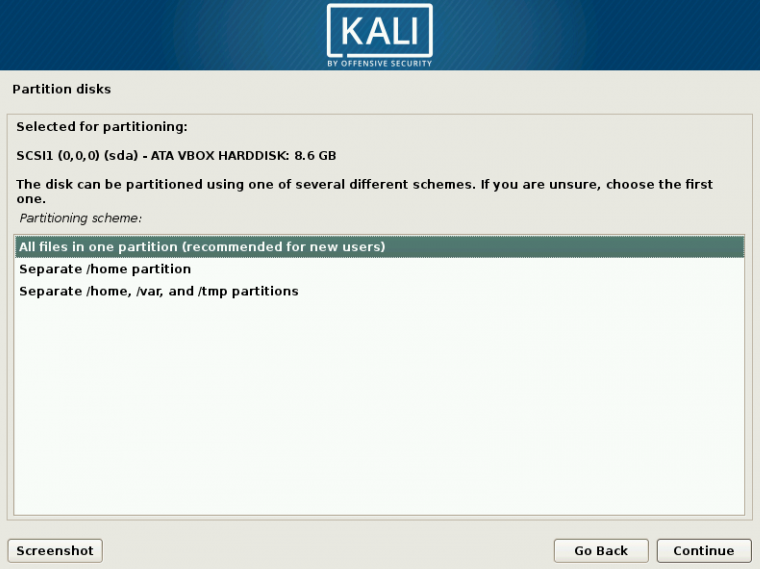
Select partitioning scheme
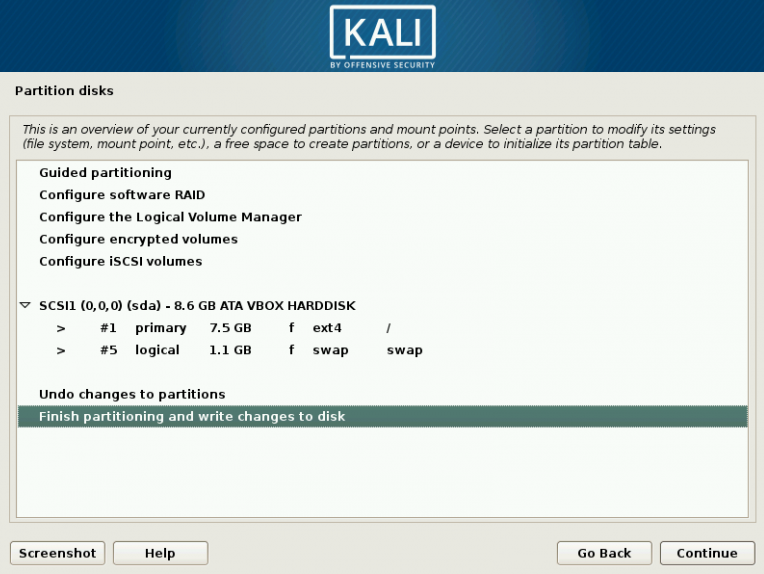
Finish partitioning or undo changes to partitions
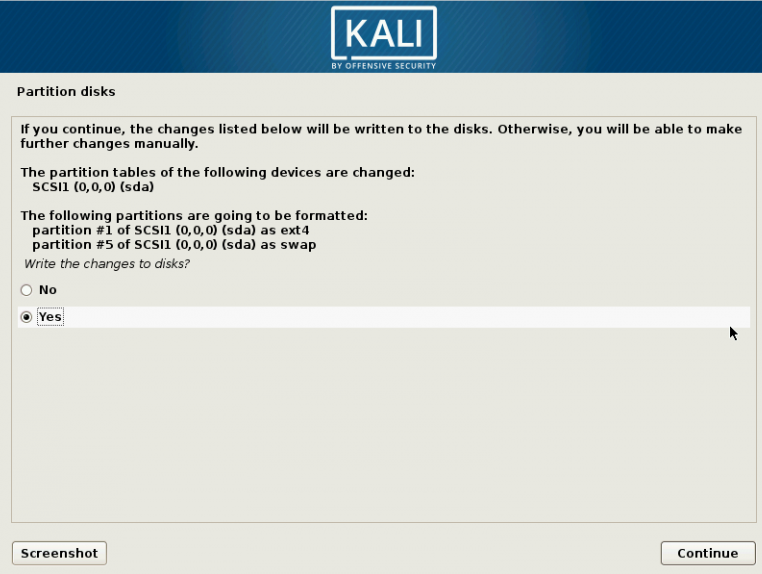
Write the changes to disk
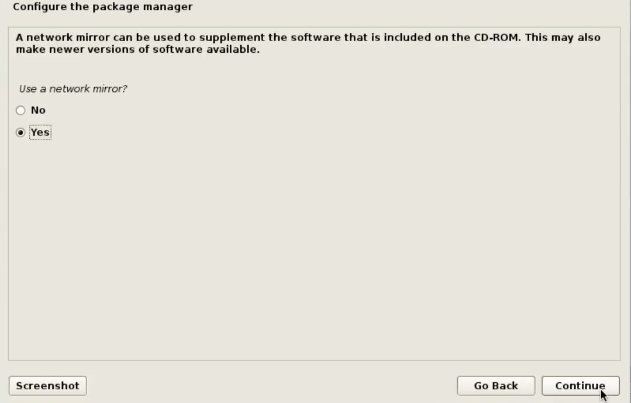
If using a network mirror, whenever there is a new software update, it will tell the user.
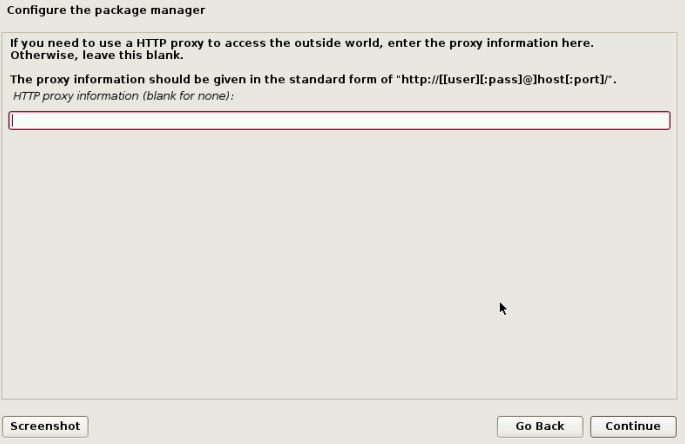
Enter HTTP proxy (optional)
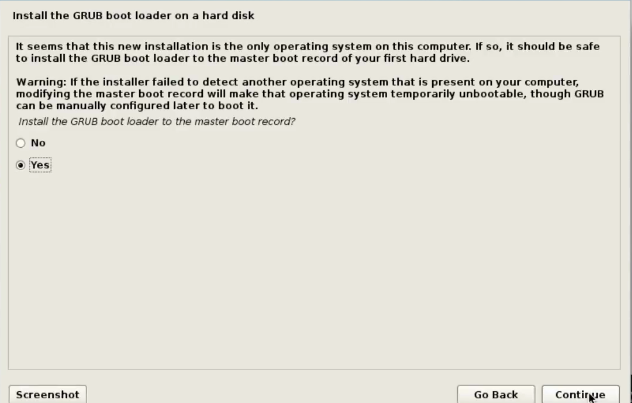
Insatall GRUB
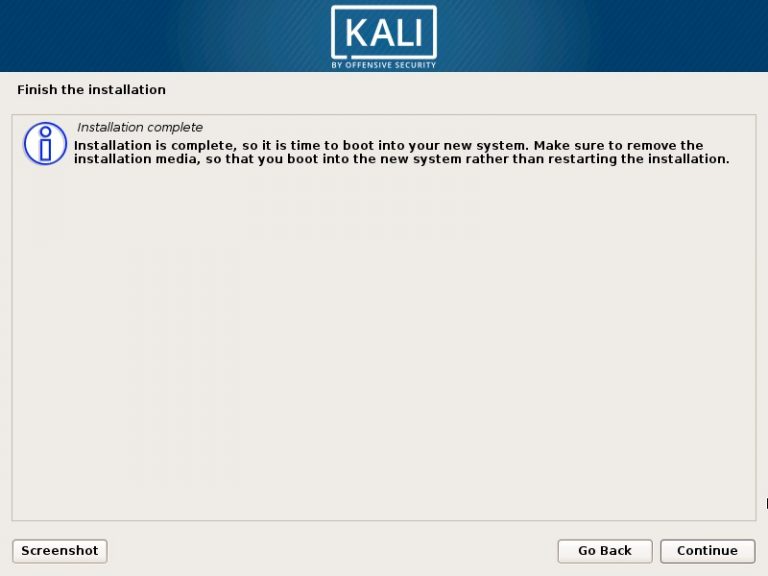
Kali Linux installation is finished and the VM is ready to be used.
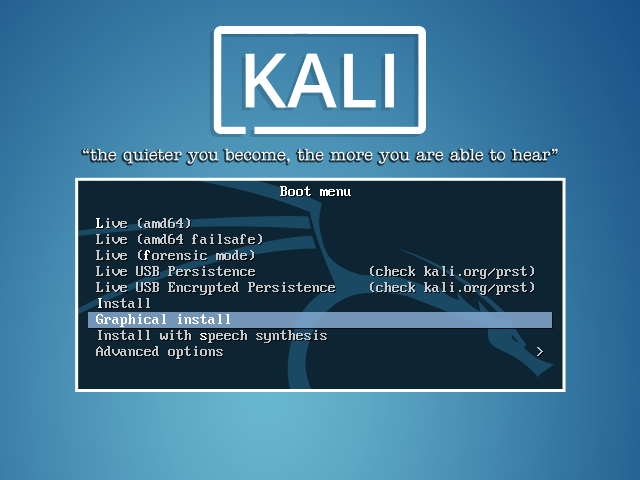
Graphical install: To make the display easier to manage (not command line)
Choosing language
Choose the country